
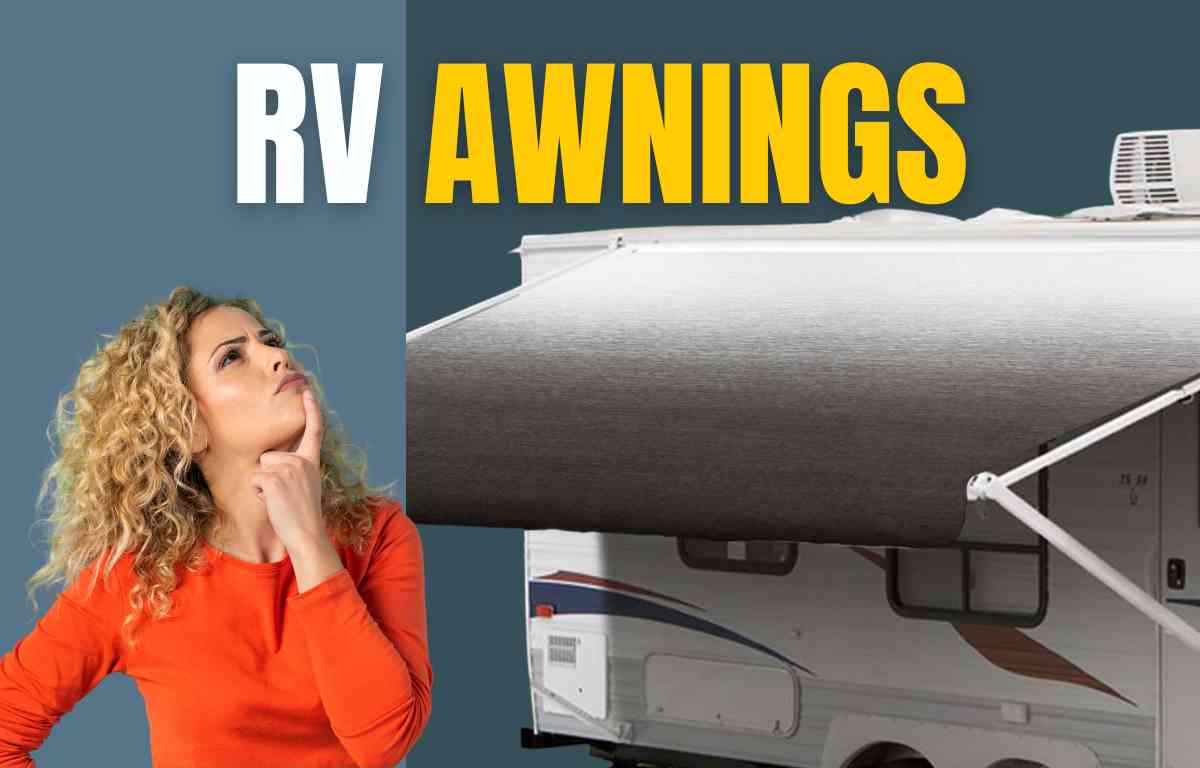
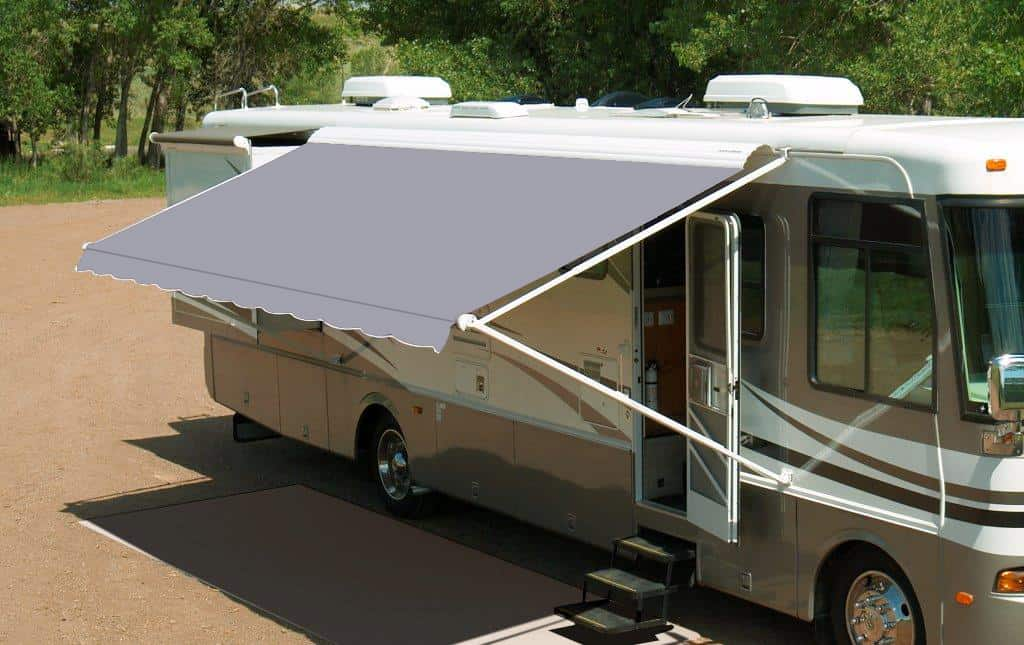
Most Recreational Vehicles (RVs) will have many common elements, one of them being the awning. Rarely will you find an RV without an awning, and that’s for a good reason. An awning extends the RV living space, opening up the outside of the RV for enjoyment, free from the sun and light rain. In fact, it’s one of my favorite features in my RV since I typically like to spend a lot of time outside when camping. No matter the type of awning you have on your RV, it makes your RV feel much bigger by adding to the functionality of your RV with additional outdoor space.
This past September, I had a chance to sit down with my friends at Carefree Colorado, one of the largest RV manufacturers in the country, and learn from the experts on awning types, features, and maintenance. I’ll go over a lot of this in the article, but to get you started, here is some basic but important information about RV awnings. I take a deep dive into these topics throughout the article.
RV Awning Basics
- Manual vs. Power Awnings: Manual awnings require physical effort to extend and retract using a tool, while power awnings use an integrated motor for ease of use.
- Awning Features:
- Other Types of Awnings:
- Awning Materials:
- Replacing RV Awning Fabric: This involves measuring and ordering the correct-sized fabric, removing the old awning, and installing the new fabric. It’s a task that can be done by handy individuals but requires careful attention to detail and proper measurements.
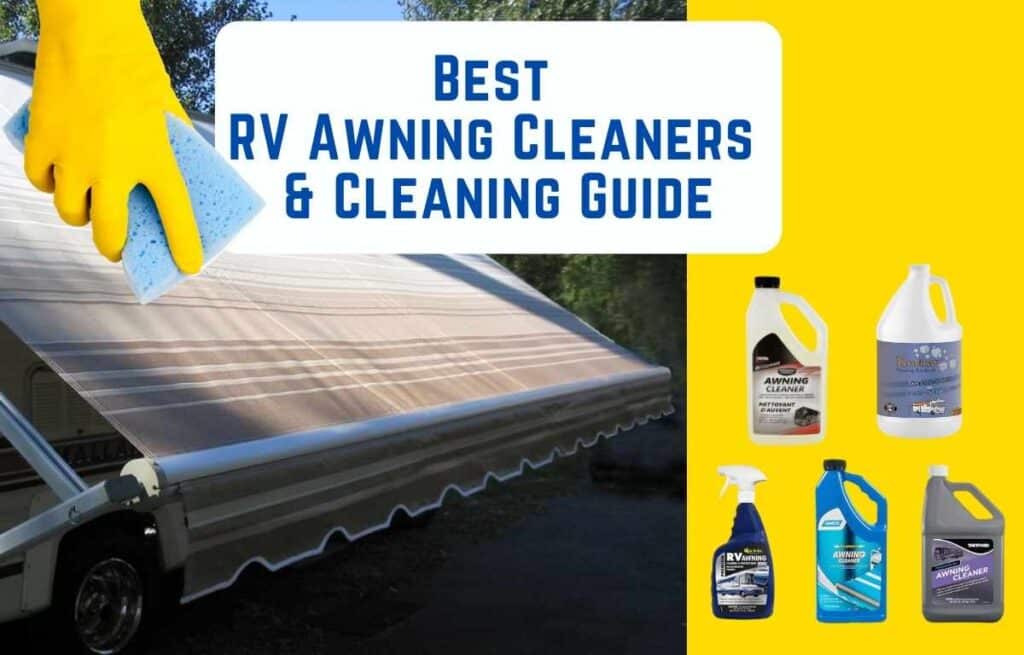
- Awning Cleaning: Regular cleaning is crucial to prevent staining, mold, mildew, and damage. Using the right tools and cleaners makes this process easier and extends the life of the awning.
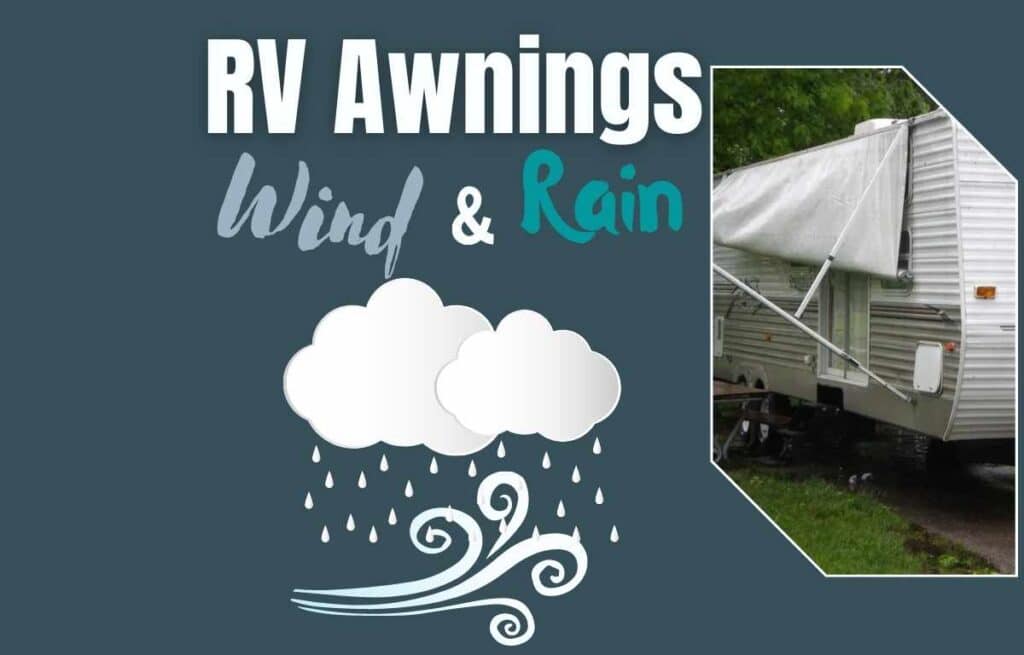
- Wind and Rain Precautions: It’s important to retract the awning in bad weather to prevent damage. Strong winds and rain can tear or break the awning, leading to costly repairs.
- Storage Tips: Always allow the awning to dry completely before retracting to prevent mold and mildew growth. This is especially important in humid climates.
RV awnings are pretty similar in some regards but can vary quite a bit depending on the awning support structure, mode of operation, and even the material. Let’s look at some of the most common types of RV awnings and what you may want to look for when purchasing an RV or replacing one.
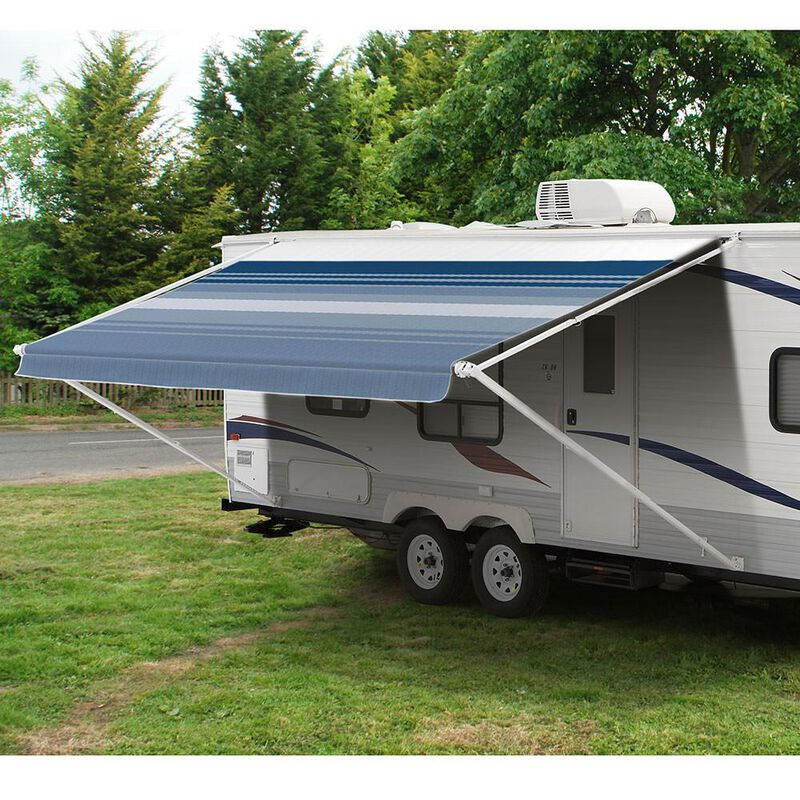
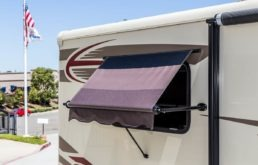
RV awnings come in different sizes, shapes, and designs. They also provide various functions to your RV, including adding a shaded sitting area, keeping you dry, or protecting your slide-outs from weather and sun. Most RVs have fixed awnings, meaning they are always attached to the RV. They extend manually or via an electric motor. Regardless of the types of RV awnings you have, they are designed to be easily operated and won’t take much time to set up.
Retractable awnings:
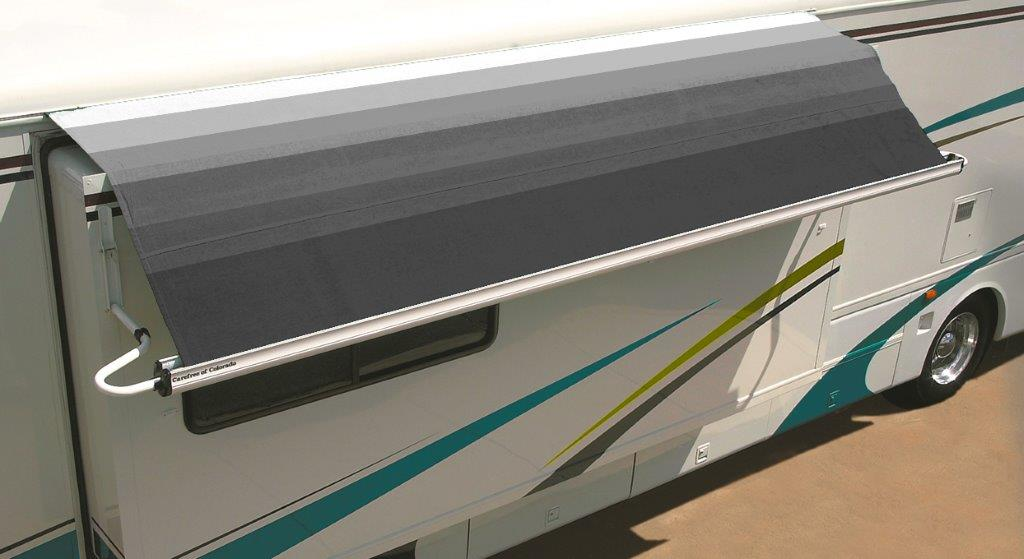
For most of this article, we’ll discuss retractable awnings, which are permanently attached to the RV and can be extended or retracted when needed. While some free-standing awnings look and operate similarly to a tent, we’ll focus on the most common type you like to have or want in an RV. RVers who park in one location, such as campers with a park model RV, may install a permanent awning like aluminum awnings, but these aren’t found in units used for travel.
Manual vs. Power Awnings
One of the most significant differences in awnings is how you extend and retract them. You will have either a manual awning, meaning you need to pull out the awning (using a tool) by hand, or a power awning, which uses an integrated motor to do the work. Both provide the same features when fully extended, but the powered awning is much more convenient.
Manual Awnings
Most manual standard awnings will have a spring-loaded tube extending along the side of your RV. This is where the awning fabric is attached and what it wraps around when retracted. These roller awnings are similar to a pull-down window shade, meaning they will maintain tension on the awning and pull it back, wrapping it up when it retracts. When extending it, you need to manually pull it out to position while the tension keeps it taught.
Once fully extended, support arms are raised to keep it in place and secure. Operating a manual awning is very simple once you get the hang of it. The hardest part is usually just connecting the rod to the fabric to pull it out. The first thing you usually need to do is to hook the awning tool on the small fabric loop, allowing you to reach the pull tab to extend it fully. Then, before pulling on it, you release the lock and the support secured to the RV, which will extend as the fabric unrolls.
Once it’s extended, it will have a steep pitch. You raise the awning arms to the desired height and lock them in place. Some RV owners leave one end of the awning slightly lower, creating a steeper pitch at one end for water runoff.
Retracting it is a little easier. You reverse your steps, guiding the frame arms as it pulls itself back into position. Manual awnings are reliable, and you don’t need to worry about an electric motor or a dead battery.
Power Awnings
Powered awnings provide the same functions as manual ones, but setting them up is as easy as pressing a button. The awning will have a small electric motor that will unroll and retract the awning for you. This is the easiest way to extend an awning. All you need to do is press the awning switch, usually inside the RV door, and watch it extend and retract.
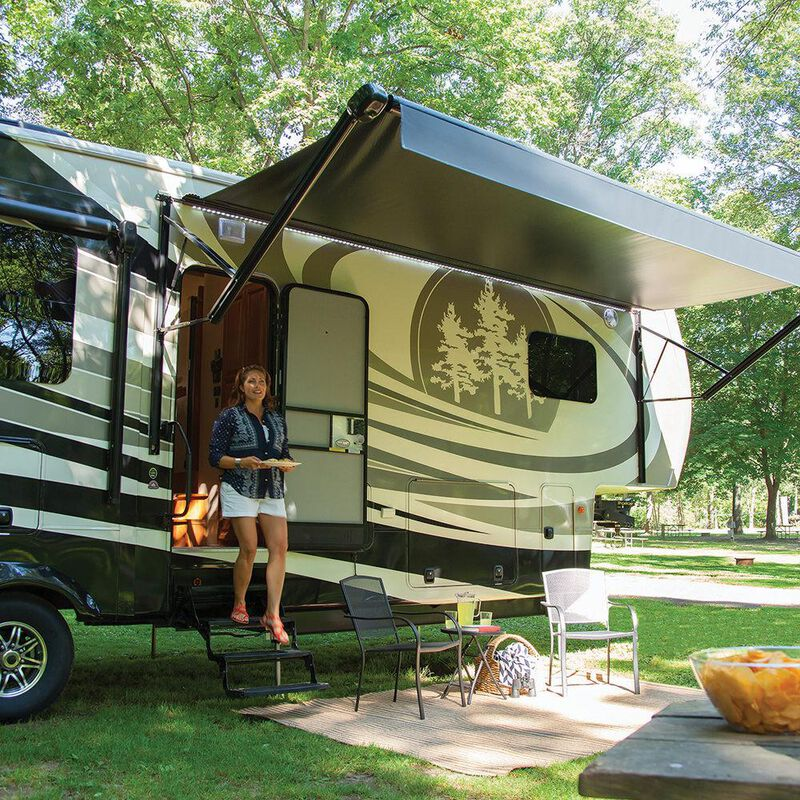
There really isn’t much to extending a powered awning, but there are a few things to remember. While there may be differences between manufacturers, most recommend fully extending the awning before you retract it. Also, a powered awning can be a little more challenging to clean. Unlike a manual awning, which is very easy to place into a steep pitch for cleaning, a powered awning may be less capable of being set up like this.
If given the option, I would always choose a powered awning. They’re incredibly convenient and allow you to quickly retract the awning in the event of a storm or harsh weather conditions. Then, once the weather improves, you can extend it in just a few seconds. They’re also quite durable and don’t malfunction too often.
Awning Features
While awnings themselves are pretty basic, they can contain several helpful features. Let’s take a look at them:
Rain Dump:
Many awnings are built with an automatic rain dump. This is helpful in the event of water puddles on the awning’s roof. However, if it gets too heavy, the awning will release one arm slowly to allow the water to drain. When this happens, you usually need to reset it by manually adjusting or retracting and extending it again. This is a good feature to have during heavy rain storms when you forget to retract it.
Automatic wind detection
A newer feature found on some awnings is an automatic wind detection sensor. Since awnings and winds don’t mix, you always want to retract them on windy days or during a thunderstorm. This neat little feature will sense wind speed increases and automatically retract your awning. While it’s definitely a luxury, it’s nice to have. Depending on what awning model you have, you may be able to purchase this as an aftermarket upgrade, which is a great addition if you’re looking to make some upgrades to the RV. If installing a new awning, it’s good to check if this feature can be added in the future.
Smart Automatic Awnings:
An automatic awning is essentially a powered electric awning but just a little smarter. Rather than simply operating it from a switch, you can control it via Wi-Fi from your phone. You may wonder why someone would even need this, but it’s a nice feature if you’re away from the RV and forgot to retract your awning when a storm is moving in. Then, with a swipe of a finger, your awning can be retracted.
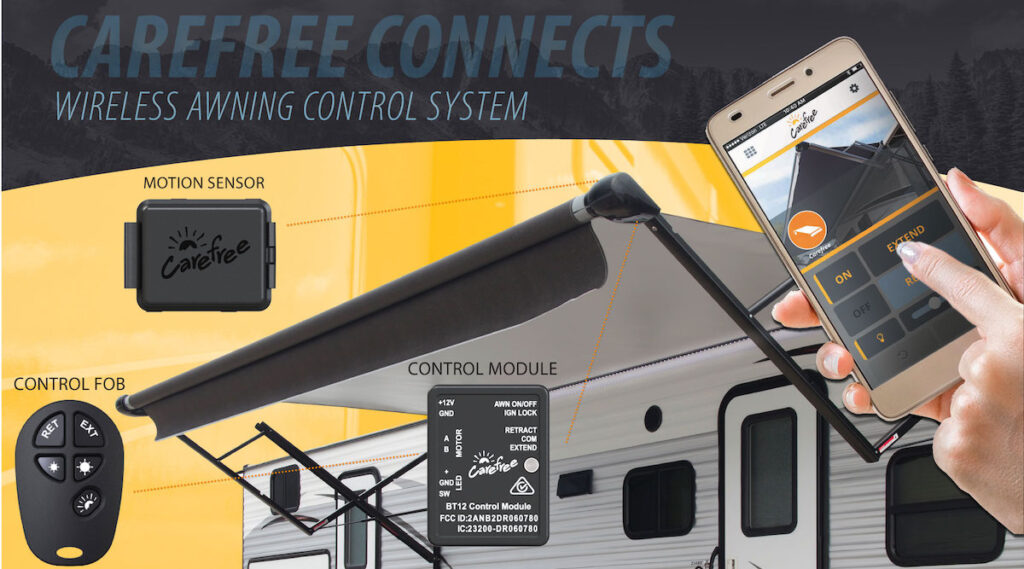
Another helpful feature of smart awnings is the ability to set a schedule. For example, you can schedule your RV awning to retract every night and open up in the morning. While a bit of a luxury, it’s a nice little perk. Automatic RV awnings are a newer option, but something I expect we’ll eventually become standard on newer “smart” RVs.
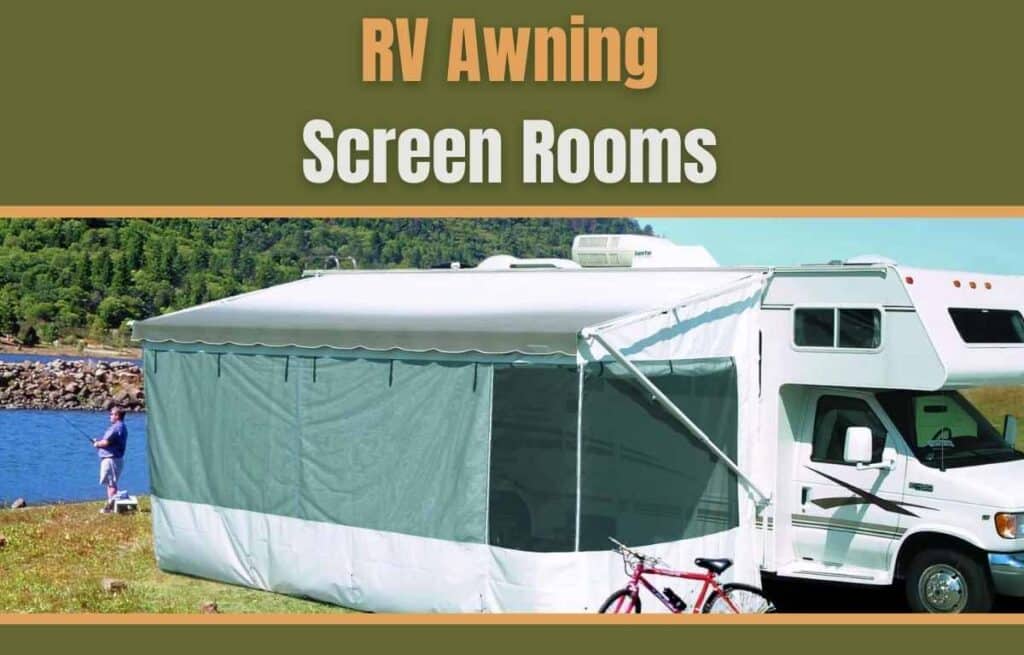
Other Different Types of Awnings
While most RV campers people envision a nice shady patio area when they think about RV awnings, many RVs will have other awning options available. This includes both slide and window awnings.
Slide Awnings
Just as the main RV awning protects you from sun and rain, slide-out awnings will do the same for your slide roofs. They will not only help to keep the area dry and cool, but they will also keep it cleaner, preventing leaves and branches from accumulating on the top of your slide.
They operate the same way as a regular RV awning, but they’re usually always powered. While not required, they’re a good investment for your RV if you are given the option. The slide awnings are shorter and designed to complete the task of adding protection to your slides.
Window Awnings:
In some RVs, you may also see short awnings extending from the windows of your RV. These are usually found on motorhomes and higher-end towable RVs located on larger windows. They’re primarily designed to add keep UV rays out of the RV by creating a shaded area over the window. On hot summer days, keeping an RV cool can be a chore. Every little bit helps. By keeping the sun out of your RV, your air conditioners can work more efficiently, and you can stay more comfortable.
Awning Materials:
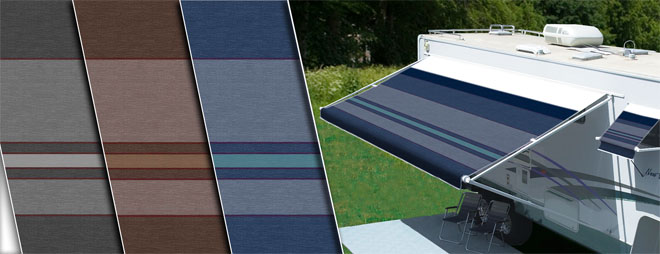
It can seem a little overwhelming if you’re shopping for an RV awning, especially when looking at fabric types. However, while you may see manufacturers marketing their materials differently, almost all RV awnings use vinyl or acrylic fabric. Both are good options, and your choice may come down to personal preference or the design of the awning frame. Both are made from synthetic materials. While it’s still possible to find canvas material awnings, they’re not very popular anymore.
VINYL RV AWNING
Vinyl awnings are the most durable and have been offered as a standard for decades. The awnings are made from a heavy-duty vinyl material, similar to the material you find on a heavy-duty rental party tent. They are completely waterproof and will last a long time. They’re also usually the more affordable of the two options.
Vinyl also does a better job of resisting mildew, which can be a problem with awnings. While not mildew-proof, they handle it much better and clean up quicker than the acrylic counterpart.
If they’re so great, why is there even another option? While the durability and waterproofness of vinyl awnings are a huge plus, they’re also heavier and don’t breathe. So on hot days, warm air can get trapped underneath the awning, making things a little less comfortable. It’s usually not a huge difference, but having used both, it’s noticeable.
ACRYLIC RV AWNINGS
Acrylic fabric is a newer option found on some RV awnings and a popular choice for people replacing their awning fabric. The main advantage of an acrylic awning fabric, which is essentially made from woven material, is its breathability. The primary downside id acrylic is rain.
Acrylic fabric is water resistant but not waterproof. During prolonged rainy days, the awning will start to leak. The material is similar to what you may have on a patio umbrella.
While water resistance isn’t as good as waterproof, it still does a pretty good job of keeping things dry. The other benefit is weight. The material is much lighter than vinyl fabric, and it’s generally easier to extend and retract, especially if you’re doing it manually.
It also tries quicker because it breathes. This helps prevent mildew stains. However, it’s much more difficult to remove if it does stain than on a vinyl awning. I typically recommend acrylic awning fabric for folks camping in primarily warmer climates.
Can you replace a vinyl RV awning with acrylic (and vice versa)
When it comes time to replace your awning fabric, most awnings will allow you to install whatever fabric you want. Since the material connects to the awning frame, it won’t significantly affect how the mechanism operates. When replacing your awning fabric, the most important thing to pay attention to is size. You need to replace it with the exact dimensions of the existing awning. The best option for the awning fabric will be personal preference, but I suggest talking with fellow campers who have both types and asking them how they like it.
How do you replace the RV awning fabric?
While we don’t cover the entire process of replacing the RV awning fabric below, it is something you can tackle yourself if you’re handy. It’s best to have two people for the job. Watch some YouTube videos beforehand and check out your awning manufacturer’s website to see if they have any instructions or allow you to download a manual.
Step 1: Measure and Order the correct-sized fabric
This is the most important step for installing new awning fabric. To take a measurement for the awning, measure from the center of one arm to the center of the other arm. This will give you the fabric size you need. Don’t make the mistake of measuring the fabric size itself, as it can stretch over time. Next, select your awning material and design. There are many awning fabric suppliers who will happily help you with the measurement and ordering task.
Step 2: Remove the awning from the RV
Start by loosening the bolts. You may need to slightly extend the awning to access them. Loosen the Awning Bolts on the top of the arms fist. Next, you should see some screws at the top of the awning, which holds it into the fabric channel. Remove these screws. The fabric should slide easily from side to side. For the bottom arms, you want to loosen them, so they detach from the bottom of the RV.
Step 3: Remove the Awning
You’ll likely need a helper for this. You simply lift up slightly on the awning and walk it down the channel, away from the RV. You may need to remove some old weather sealant at this time, but it should move easily. Carefully move the assembly to a work area. Next, you’ll need to remove the arm of the awning frame. At this point, you will want to consult your owner’s manual or contact the manufacturer to see how it’s assembled (if it’s not obvious). Some awnings have a spring tensioner on one side that you need to unlock. If you have a spring tensioner, you will need to keep a tight hold on the bracket while you unscrew it. Once you release the tension, it’s time to remove the camp and spring assembly. Once removed, you should be left with the tube and fabric.
Step 5: Remove and Replace the Fabric
At this point, you need to unroll the fabric off the roller. There are two sections of an awning fabric for both the main awning surface area and the decorative valance, which hangs over the front once extended. You will want to note these channels, so the new fabric is installed correctly. Once removed, slide the new awning fabric into the same channels where the old one was installed and center it on the roller using a tape measure. Watching a video of this step is very helpful, as it may save you a lot of time and confusion.
Step 9: Put the Awning Back Together
With the help of a friend, roll the fabric up the opposite way you took it off. Once rolled, reattach the end caps and arms. Next, move it back into position (after you clean the mounting area) and reverse the steps you took to remove it. You will need a helper to guide the fabric back into the channel on the RV. Be sure to tighten down all bolts. Once you’re done, test it and ensure the fabric rolls out evenly. Once you are happy with the position and function, tighten the two screws holding the fabric in place.
RV Awning maintenance and care
Cleaning
Cleaning your awning is just as important as cleaning the rest of your RV. It’s often overlooked, but if not done, it can lead to staining, mold, mildew, and even holes or tears in your fabric. Cleaning may seem challenging, but it’s pretty easy if you have the right tools and do it regularly. Below is a great article that walks you through the cleaning process and recommends some of the best tools and cleaners. The more you take care of your awning, the longer it will last. Some vinyl awnings are still going strong even after 25 years.
Wind and Rain
If I had a nickel for every time I saw an RV awning damaged from strong winds, I’d probably have about 50 cents. While it’s not an everyday occurrence, I see one or two RVs with a torn or broken awning every year because it was left extended during a thunderstorm. This actually happened to me on my first RV. The manual awning arm got bent from the rain, and I had to straighten it, which wasn’t easy, to get it to function again.
Sometimes, the awning can tear away entirely from the RV, resulting in a costly repair bill. Therefore, whenever bad weather is in the forecast, it’s best to retract the awning just in case. A slight breeze won’t harm it, but it only takes a few seconds to rack up a hefty repair bill.
If you want to learn everything you can about awnings, wind, and storms, check out the following post:
Storage
The best thing you can do for a long-lasting awning is to allow it to dry completely before you retract it. This will help prevent mold and mildew growth, which will happen if put away wet. Now, it’s not always possible to fully let it drive when you’re leaving the campsite, but you should make a habit of opening it back up at home or when stored until it dries. This is especially important in humid climates.
Conclusion:
The best way to enjoy camping is to spend time outside. However, this may be less appealing in sunny and rainy conditions unless you use your RV awning. AN RV awning is a great way to add some additional space to your campsite. While awnings come with different types of materials and use electric motors or a manual system, they all provide similar benefits. Retractable RV awnings are a quick way to make your campsite more comfortable.
If you’re purchasing a new RV or replacing your awning, you may be looking for the best RV awnings or deciding between types of RV awnings. A good place to start is to identify the most important features. Do you want a power awning, or are you okay with a manual one? This will likely be the biggest factor in price. From there, you can look at features. Check to see if it has a rain dump, ask if you can install a wind sensor, or even look to see if it can integrate into a smart RV. Also, if you’re unsure about it, ask the RV dealership or salesperson to demonstrate how it works. That way, you can be certain you made the right choice.
The great thing about RV awnings is that they are designed for the long term. While the fabric may fade or wear, you can easily replace it for a fraction of the cost of a new awning. So long as you don’t leave it extended in extreme weather conditions, very little can go wrong with the frame.
If you’re simply replacing the fabric, you will need to choose between acrylic awnings and vinyl awnings. Both are very good but will have some differences. While an acrylic fabric breathes more, it won’t be as waterproof as a vinyl one. While a Vinyl material may be easier to clean, it will be much heavier and more cumbersome to manage in a manual setup.
Whatever awning you choose, ensure you purchase the right size. Different types of RV awnings are available in many different standard sizes. Choosing the right RV awning starts with a tape measure. While you can choose between different colors, fabrics, and different styles, you can’t ignore the measurements The might measurement will ensure you don’t exceed the maximum length for your awning frame.
The best awning is the one you will use. So, don’t purchase one that you don’t feel comfortable operating or are afraid to use because it’s very expensive. Enjoy the outdoor space on your next camping adventure by taking advantage of your awning. All of the different options are less important than choosing a quality awning that you’ll use.