One of the most asked questions by folks decorating or organizing their RV is how to hang things on the RV wall. If you just purchased a new RV, you may be having a hard time putting a permanent hole in your fresh new wall. Additionally, you may be worried about damage to the wall and whether or not it can hold what you want to hang.
If you want to find out how to hang things in your RV, you found the right article. RV walls a vastly different from the walls in your home. Therefore, hanging things will need to follow some different rules. We’ll cover all of your available options and suggest what methods and products are best for your needs. Luckily, there are different ways to achieve the same results that you would at home.
Understanding RV Walls
Before you take out a hammer and nail, open your RV door and look at the thickness between the exterior and interior RV walls. You’ll quickly realize that RV walls are thin, often just a few inches in width.
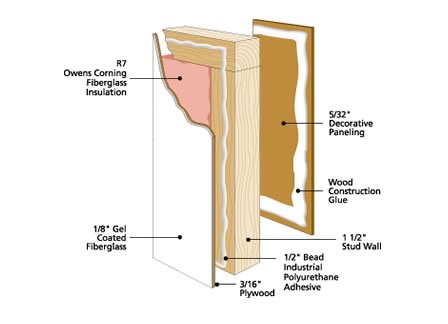
If you have an older RV, you likely have a traditional RV wall, which more closely matches a residential wall constructed with a wooden frame, fiberglass insulation, and thin wood laminate on the interior. However, newer RVs are more commonly built with an innovative laminate process that is a more sealed structure where the exterior, cellular insulation, and interior walls of an RV are glued together. Also, the support structure is usually aluminum studs, helping to create a much lighter and better-insulated wall.

Your walls are much thicker in your home and will typically use wooden studs set at regular intervals and covered by drywall. When hanging items on a residential wall, locating a stud or taking advantage of hanging hardware to attach things to drywall is relatively easy. While you can borrow some ideas from hanging things at home, your approach will need to gear toward the uniqueness of RV walls.
Luckily, you have several good options that can assist you with decorating and hanging things on your RV walls. Let’s take a look at them. But first, let’s talk about heavy items.
Can I hang heavy items on my RV wall?
You should avoid hanging anything really heavy on an RV wall in most instances. There are a few exceptions to this rule, which we’ll cover later, but the heavier the item, the greater the chance of damaging your wall.
In an RV, you not only need to think about the ability of the wall to hold the item, but you also need to consider the stress that the item will place on the wall from the item bouncing around while traveling. For example, a heavy shelf may seem like it’s holding just fine while stationary, but it can jolt loose if not properly secured.
Can I mount a TV on my RV wall?
Some exceptions to the weight rule include hanging things like TVs. This exception is only true if your RV was constructed with a mounting location for the TV. If you purchased a new RV, you might notice a sticker on the wall stating identifying a mounting location for a TV.

RV manufacturers will typically identify where they installed an additional mounting plate to allow a TV mount to be attached to the wall. If you plan to install a TV, ensure that you have a mounting plate; otherwise, your new TV may be lying cracked on the floor when you get to your destination.
Where to Mount Things:
In your RV, you’ll have several options of where to hang items. The best tip is to mount the items where you need them. For lightweight stuff, you can hang them directly on the walls, using some of the products identified below.

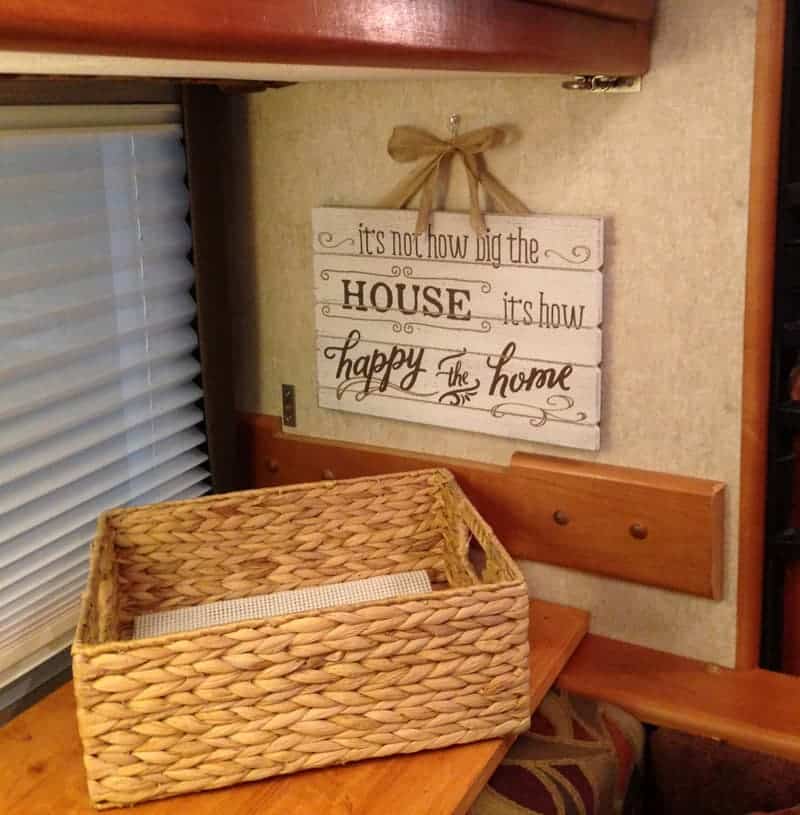
However, don’t limit yourself to walls. You’ll have plenty of flat surfaces in your RV that make great mounting locations for needed items. For example, consider mounting your kitchen hooks or items to the cabinets in your kitchen. The wooden cabinet surfaces create a strong and secure place to hang heavier items and may work well for screws (be sure to predrill a pilot hole in the wood and install the right length wood screws in a thicker edge of the cabinet).
Also, if you’re looking for a place to hang a kitchen towel, consider using strong magnet hooks attached to your stove. You can also place some small hooks inside cabinets to hang small stuff you don’t need to display, like keys, tools, etc.
Screws and Nails
Here’s my take on screws and nails: Use small screws very carefully; avoid nails (even small nails). As mentioned above, RV walls are very thin and don’t always follow a standard construction schematic for stud locations. Also, newer RVs primarily use lightweight aluminum studs, but they are not always ideal for anchoring things to the wall.
The other concern with screws and nails is that most RVs have wires and even some plumbing run within the walls, which are hard to locate and can be easily punctured with a screw or nail. If you’re going to hang something with a screw, choose the smallest screw adequate for the job. Remember, your RV wall is thin, and a long screw can easily puncture through your exterior wall.
If using a screw, try to locate a stud using a stud finder or taping on the wall to listen for a more solid sound. Locations between studs will sound hollow. The thin walls of the RV may also allow you to push on them and feel the stud location.
When using a screw, avoid using the typical drywall hanging hardware you use at home. The thin material of the interior surface simply can’t hold the weight like drywall. Instead, it’s best to use a screw when you know you can find a stud.
Screws should only be an option if you need to attach something heavy to the wall like a shelf, TV, or wall-mounted appliance. The best way to hang light items is with strong adhesive-type products. Also, if you are permanently installing something heavy, consider using pop rivets (described below)
Also, don’t use nails. You have less control over a nail, and one wrong pound of the hammer can cause damage or push the nail past the point of no return.
You may also consider using push pins. While they are an excellent way to hang things on surfaces like corkboards, they don’t hold very well in the thin panels of RV walls and will work loose over time. Your best best is to use an adhesive product.
Pop Rivets
Consider using a pop rivet if you need to permanently install something in your RV, like a wall-mounted appliance, vacuum cleaner, or shelf. While a pop rivet can be removed with the right tool, it is more of a permanent mounting option and a good replacement for a screw.
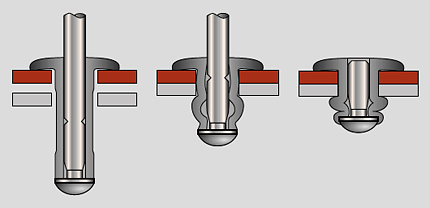
Pop rivets consist of two parts. The first part is called the rivet body (also known as the shell or hat), and the second part is called the mandrel (also known as the stem). A pop rivet works great when access to both sides of a component is limited, like an RV wall.
First, a small hole is drilled into the surface. Next, a pop rivet is then inserted through the drilled hole, and the rivet body is brought into contact with the parts. Next, a pop rivet gun is placed on it, pulling the mandrel into the rivet body, causing it to expand and grip the parts to be joined. Once gripped, the mandrel snaps, permanently holding the rivet in place.
Since you need to drill a hole to install a pop rivet, these are best used in situations where you plan to mount something permanently. For example, if you’re hanging a shelf, using several pup rivets will help distribute the weight and provide a more solid and capable fastener that can endure more weight than an adhesive hanger.
Many RVers ask about hanging a stick vacuum on a wall. Pop rivets are great for this application. They also work great for mounting something like a wall-mounted electric heater.
Adhesive Options
If you’ve ever visited a hardware store searching for stick-on hanging hardware, you know that your options are vast. A quick search on Amazon will keep you scrolling through dozens of pages of different products. Adhesive hangers will include things like hooks, Velcro strips, picture hangers, etc.
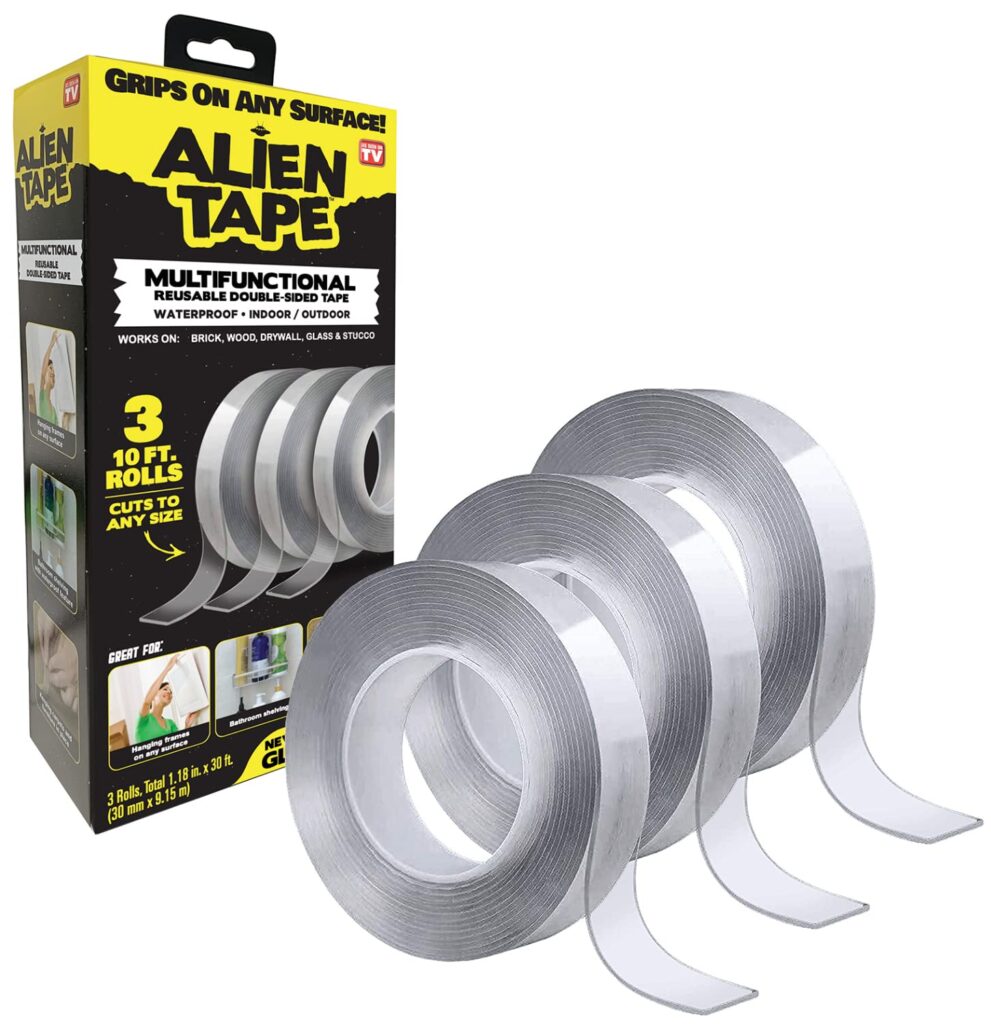
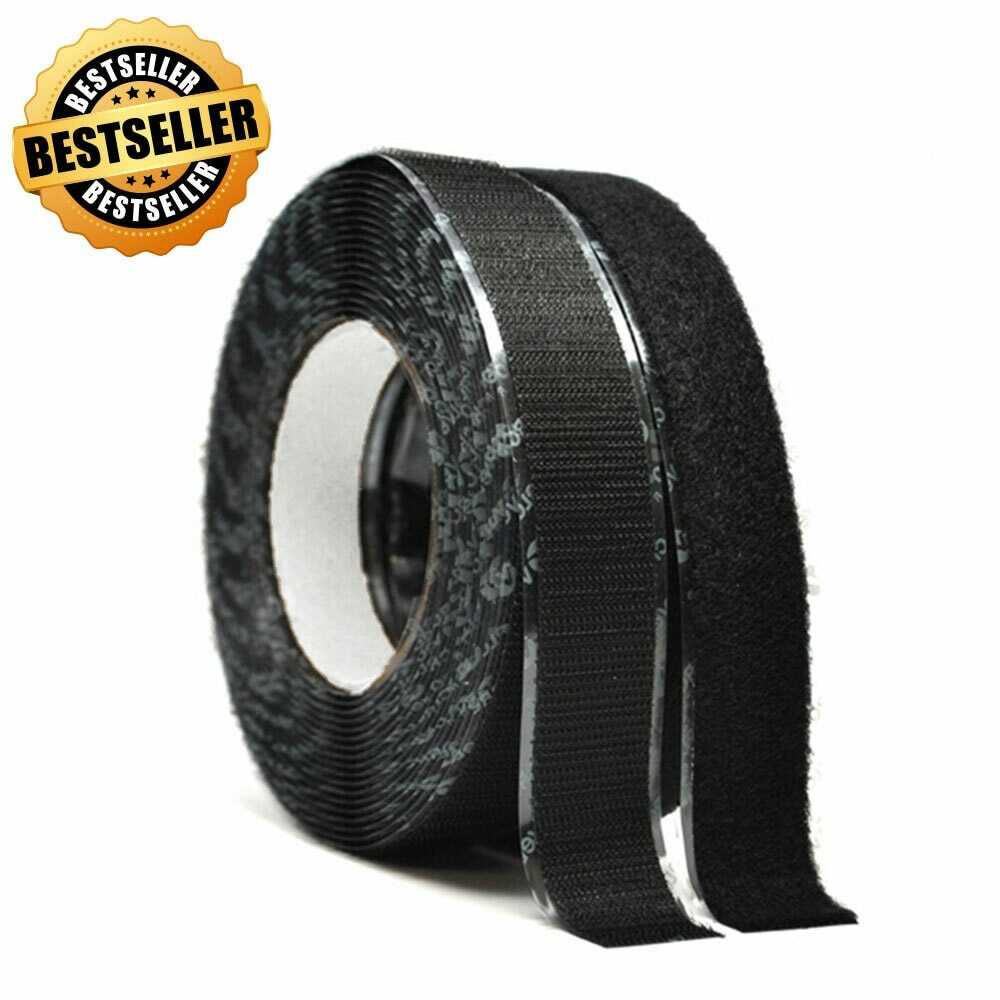
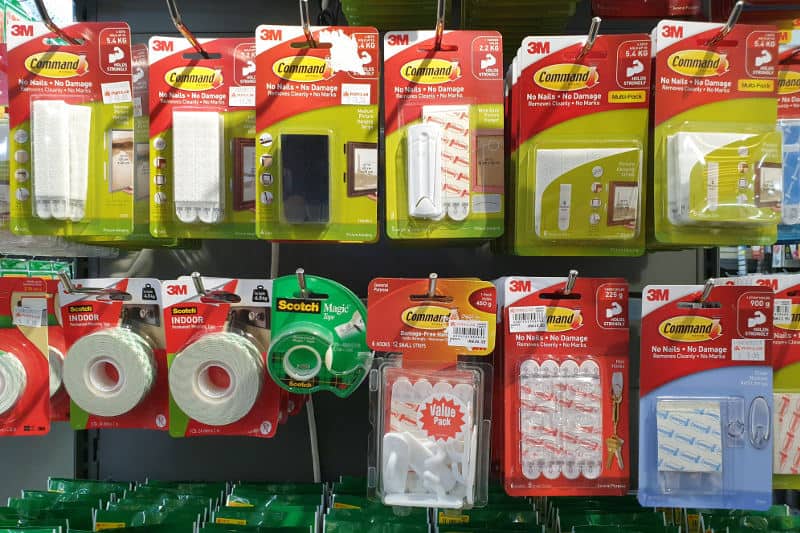
The most important thing to consider when selecting an adhesive hanger is its weight rating and ease of removal. You don’t want to permanently glue something to your RV wall if you don’t need to. Luckily, many different things are available that can be removed if needed.
Side Note: Take a picture of the removal instructions and store it on your phone. When it comes time to take it off the wall, you want to make sure you follow the product instructions, or you might be left with a damaged wall.
Adhesive Hangers
Velcro
Velcro makes a great hanger for many options and is available in various configurations like Velcro tape, tabs, and even larger sheets. While it may work for many situations, it may not be the best option for all applications.
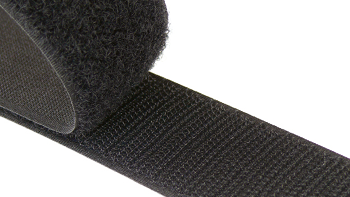
When considering Velcro, first decide if you need to be able to remove the item frequently. If not, you may have better success with a non-Velcro option. Adhesive Velcro strips may seem like the best solution, but when using strong bonding Velcro, separating the two sides can be difficult, and it’s easy to pull off the piece attached to the wall, potentially causing damage. I use a lot of consideration when applying a strong Velcro product.
I like to use Velcro on surfaces that can’t be easily damaged, such as metal, glass, plastic, or cloth. For RV walls panels with wallpaper, I prefer to use pure-adhesive mounts. With that said, Command brand Velcro strips work better than the heavy-duty Velcro tape, and they hold strong and separate more easily.
Command Strips and Hangers
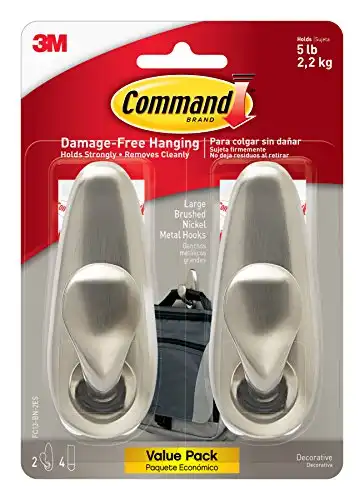
Command brand hanging solutions and interior RV walls are a perfect combination. They come in all sizes and configurations and with various mounting options. Just pick up the command strip picture hanger if you want to hang a picture. If you need an adhesive hook, the command brand has you covered. As with any adhesive hanger, for best results, it’s important to apply them to clean surfaces. Command strips and other 3M products come in a variety of sizes and configurations.

When choosing your Command brand hanging option, be sure to follow the weight guidelines and give yourself some additional buffer to account for the stress created when driving down the road.
Also, don’t use these when hanging very heavy objects since they are only as strong as the wall. For example, a heavy-duty hook may hold a lot of weight, but if you throw on a kid’s backpack filled with books, it may be too heavy for the wall, even though the hook can hold it.
Museum Putty
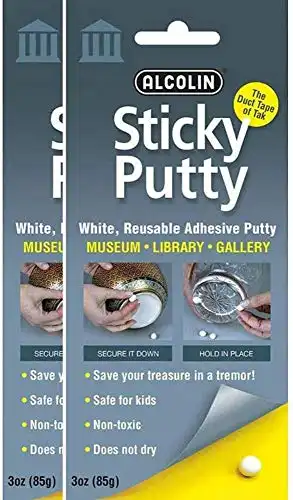
If you’re hanging lightweight items, like posters, wall art, or lightweight decorations, then take a look at museum putty. The best part of using museum putty is that it’s easily removable and provides good sticking adhesion for different materials.
Museum Putty is a blended rubber material used by museum professionals and antique dealers to keep items from moving around. While many museums use it to hold items on a flat surface and prevent them from shifting around, it works great for hanging things. Also, since it’s a putty, it can adhere easily to any uneven surfaces, such as wallpaper in your RV.

Museum putty is also inexpensive and a great item to have in your cupboard when you need a quick fix to hang something. For example, if you like to decorate your RV for the holidays, museum putty makes a great decoration hanging option. It’s also strong enough to hang some items like small pictures and knickknacks. Surprisingly, it holds well even when your RV has been sitting in the hot sun all day.
Sticky Tack Tape
Another item that is worthwhile keeping in your junk drawer is clear sticky tape. This tape is similar to museum putty in utility, but it comes in a roll and can be applied to various surfaces. It’s also pretty strong and can be used for various applications.

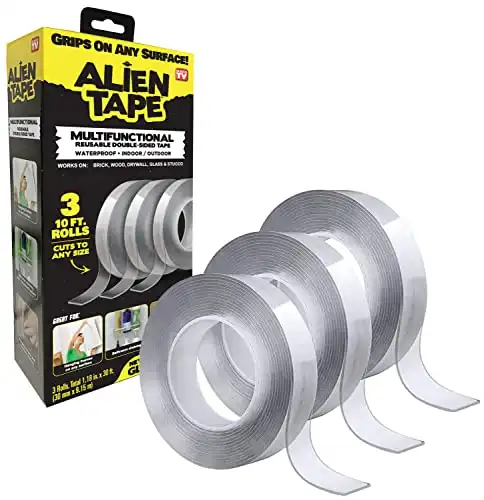
My favorite brand of sticky tape is Alien Tape. You can also use this tape under items you store on your countertop as a secure way to prevent them from shifting while traveling. In addition, it makes a great utility hanging tool for a wide array of items in your RV.
The sticky tape is also easy to remove, clear, and doesn’t leave a sticky residue when you take it off the wall.
The best tools for the job
Hanging Pictures
I suggest attaching the frame directly to the wall vs. hanging it from a metal picture hanger when hanging framed family photos. The main reason for this is to reduce the potential of the picture from falling while traveling.
Additionally, the weight is concentrated on a single point when you hang something from a hook. By attaching adhesive strips to the edges of the frame, the weight gets distributed over a large wall surface area. While this may not be a huge deal for lightweight picture frames or small items, it may be an important consideration for larger ones.
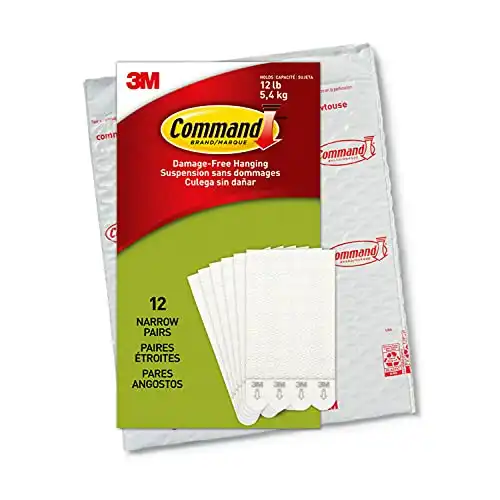
To hang picture frames, I recommend the Command picture hanging strips. They’re affordable, strong, and easy to remove.
Towel Hangers
I’m guessing that there is some type of ban on towel hooks in Elkhart, Indiana, where most RVs are manufactured. I never understood its reasoning, but it’s a rarity for an RV manufacturer to install a factory town rack in the bathroom.
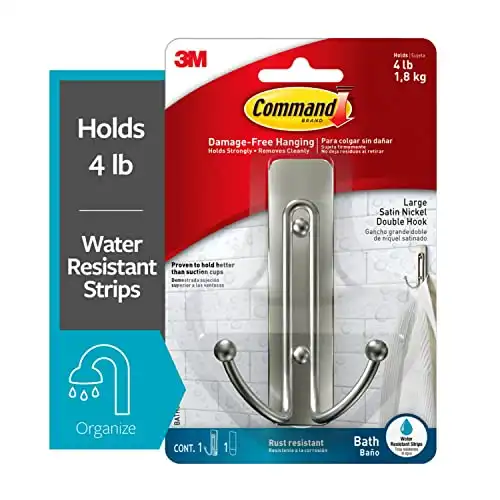
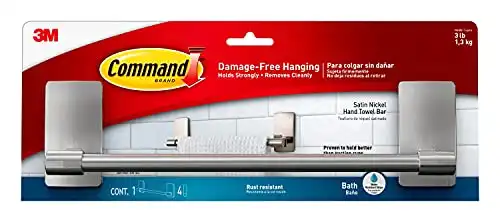
If you have a need, which I suspect you do, for a way to hang a towel, I recommend sticking with command brand hangers. They make an excellent hook for hanging towels and a towel bar that you can use to hang small towels for drying hands.
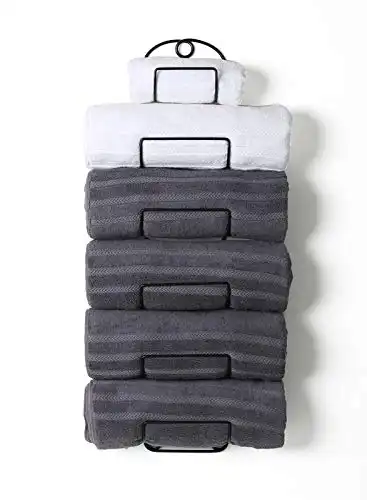
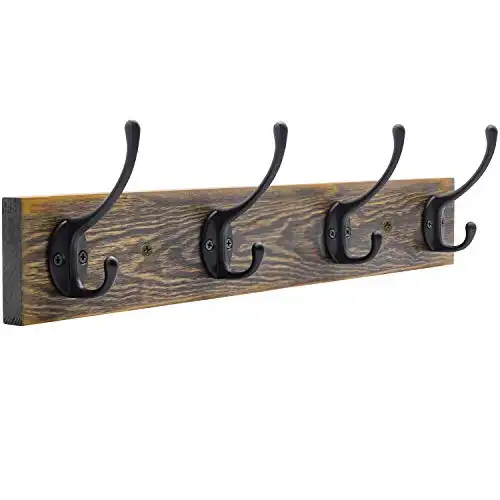
If you’re looking for a place to store folded bath towels, a good option is to install a towel rack like the one below. I recommend using a screw mounted to a stud when installing this, as several towels can add up in weight. I also suggest removing the towels when traveling. Adhesive strips may work, but you’ll be pushing the limit for the heavier rack.
Coat or purse hangers
Some RVs will come with an entry door coat rack, making hanging coats super convenient. If you don’t have a rack, you may want to install self-adhesive wall hooks. Command hooks are the way to go and they come in different color options and finishes.
If you have wall studs available and are comfortable drilling, you may consider adding a coat hooks bar.
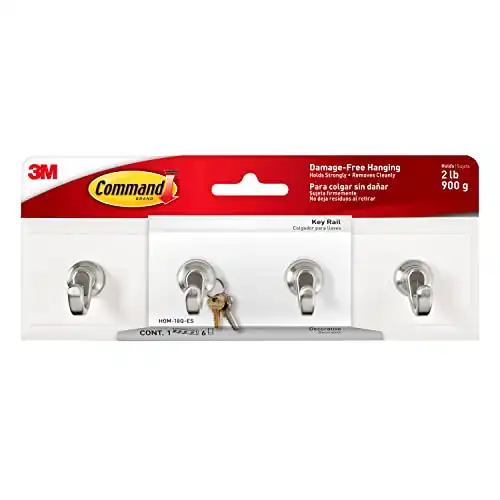
Command also makes a coat hook bar that you can install as well. Be sure not to overload them, especially if adding a heavy purse. These hangers are also perfect for things like dog leashes.
Lightweight Posters, maps
Overall, your best option for decorating your RV is to use lighter-weight items. While it’s not always possible, it will simplify your life. When installing lighter items like posters, laminated checklists, or wall decor, Museum putty works great on both rough and smooth surfaces.
Bathroom items
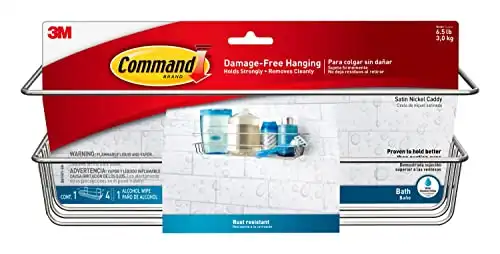
If you need a bathroom organizer that you can hang on the wall of an RV, check out the command shower caddy. While it’s not very big, it provides a good wall-mounted storage option for some of your basic bathroom supplies.
Jewelry
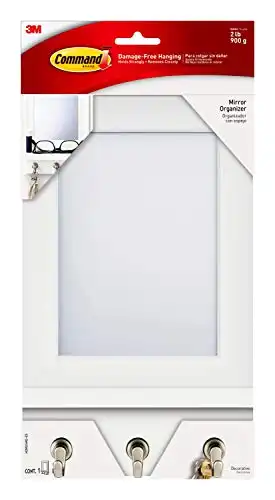
This decorative hanger and mirror organizer makes a great hanger for jewelry and small makeup items in your bathroom or bedroom. It’s really great to see versatile items like this since it’s one-stop shopping for RV solutions. While it’s not large enough for all applications, it’s a nice addon for your basic needs and may work well in your RV bathroom.
Wall Mounted Appliances
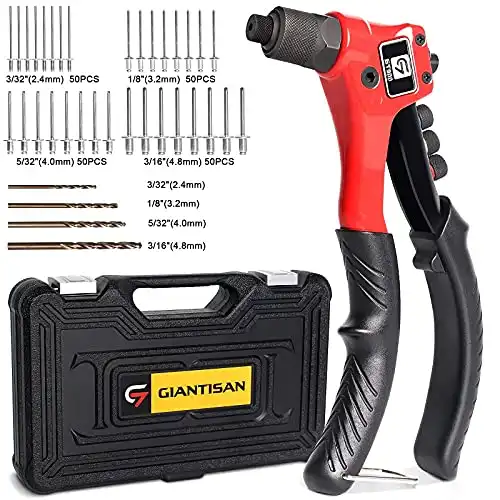
When mounting heavier items, a pop rivet is the way to go. As described above, this is the best option for heavy and permanently mounted fixtures and products. The following tool will provide everything you need to get the job done.
Universal mounting
You’ll quickly learn when owning an RV that there are always small projects or needs that pop up from time to time. It’s helpful to have tools ready to tackle them when needed. Hanging items in your RV is something that you’ll surely run into over the years.
I recommend purchasing some utility hangers and adhesives to have on hand when needed. The following two products are great things to store away in your drawer for the time when you need them.
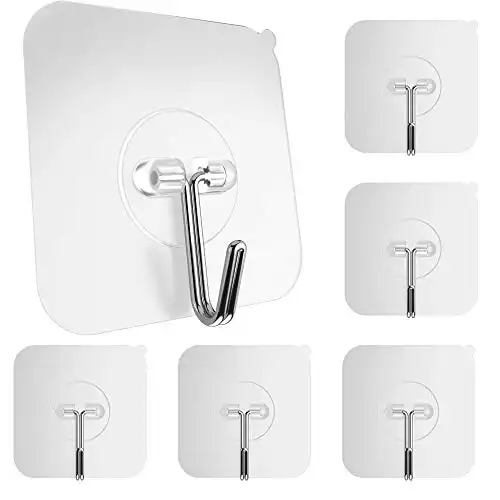
GLUIT Adhesive Hooks for Hanging Heavy Duty Wall Hooks 22 lbs
These inexpensive hooks available on Amazon are a great option for hanging items on various surfaces in your RV, including walls, inside of cabinet doors, or around the bathroom. They’re very strong and work well.
The main downside to the hooks is that they’re not very attractive. While they have a more utility look, they are great for places that aren’t in key visual locations in your RV. I like these for hanging things on the wall under cabinets, in tight areas, or when the item hanging will cover it up.
While these are strong and provide great adhesion, please follow the instructions when you remove them. If you read the reviews, you’ll notice people complaining of the hooks pulling the paint or wallpaper right off the wall. However, the easiest way is to take a hairdryer and warm them up. They’ll come right off and can be reused. They also work well for exterior walls.
Conclusion
When you get an RV, one of the first things many folks want to do is make it their own. You may choose to do this for decorating, organizing, or simply keeping items within reach. You’ll surely be confronted with the dilemma of needing to hang something on your interior RV wall. When this happens, you don’t need to shy away from it. Many proven products and techniques make this possible without damaging the vinyl walls of your RV. Most options are relatively inexpensive, so simply find the right product for the right application, and you’ll be well on your to make your RV feel a little bit like home.

All wonderful tips, especially pop rivets, but will they do the job for installing a small medicine cabinet above my sink (my trailer only has a mirror in that place and very limited storage so I really need a cabinet. It’s a wall going to waste!
Yes you can, but just choose one that’s on the lighter side. Here’s a good video that demonstrates how to use them. https://youtu.be/D3dym_w27W8?si=QKiC-9kyRRl6ukRt