If you are RVing in the winter in below-freezing temperatures, you’re likely aware of the need to keep your RV underbelly warm to prevent water pipes and tanks from freezing. Most enclosed RV underbellies will offer some heating options, but only when the RV furnace runs.
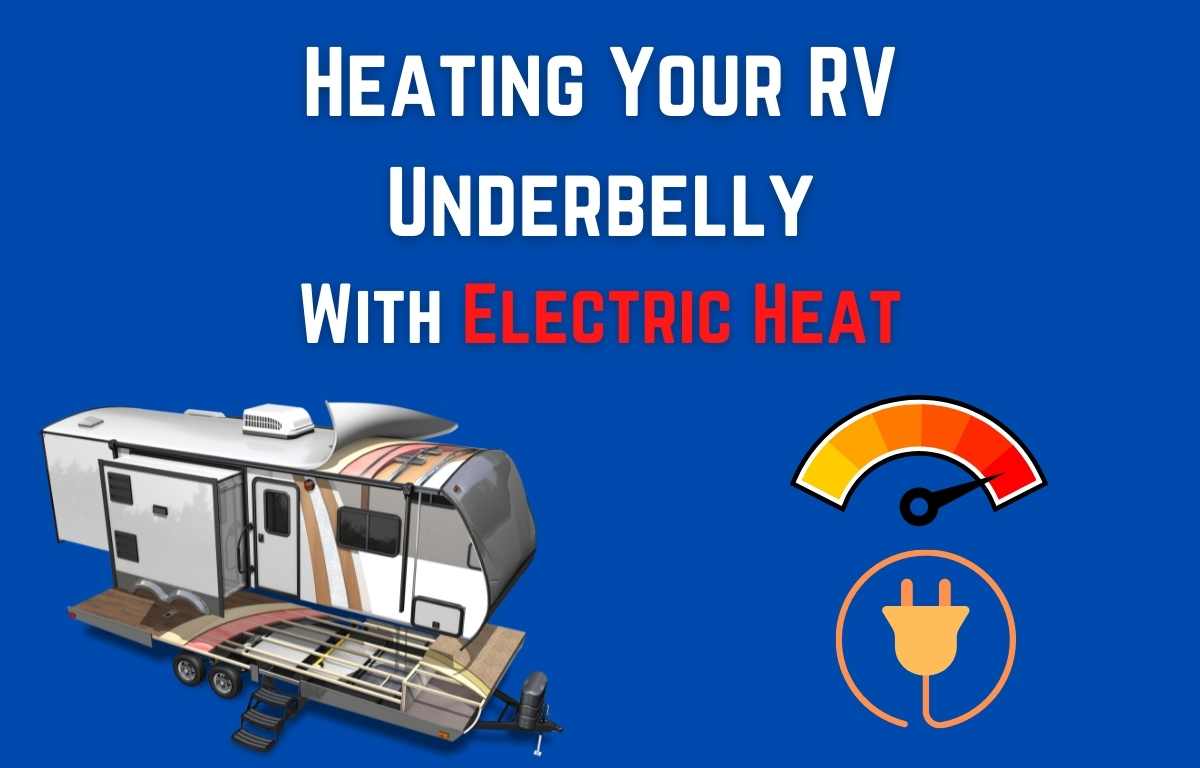
This method works well enough to keep everything above freezing for the most part. However, as you know, propane can be expensive, and filling up your tanks several times a week can be a pain. What if there was a way to heat your RV underbelly with electric heat? Well, if you’re willing to do a little tinkering, there is.
How is an RV underbelly heated?
The way that most underbelly heating systems works are simply by exhausting an open RV ducting vent to the underbelly area. Some manufacturers will also strategically run ductwork to provide radiant heat to this area. Therefore, when you run your furnace to heat your living area, you will likely be warming your enclosed underbelly as well.
To use electric heat to warm up the underbelly, you need a mechanism for getting that heat down there. This method is really the only way to heat your underbelly without significant modifications.
Many people who attempt this will use a dedicated electric space heater for the underbelly. While this works, it’s often a little cumbersome as you need to manage that heater separately and construct something that captures the air from the heater and forces it to the underbelly. The problem with most electric space heaters is that they simply don’t have enough airflow to direct the heat to this area forcefully.
Instead, you can heat the underbelly with the warm air of the living area. The idea is relatively simple. You will draw the warm air out of the living area and force it into the underbelly. Therefore, if you can heat your living area with electricity or a
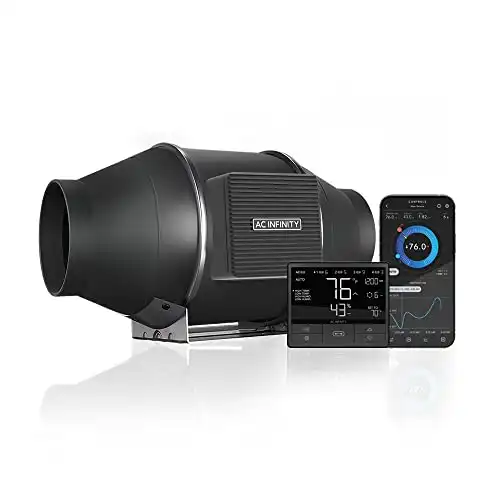
The equipment that I recommend is the AC Infinity Quiet 4” Inline Duct Fan.
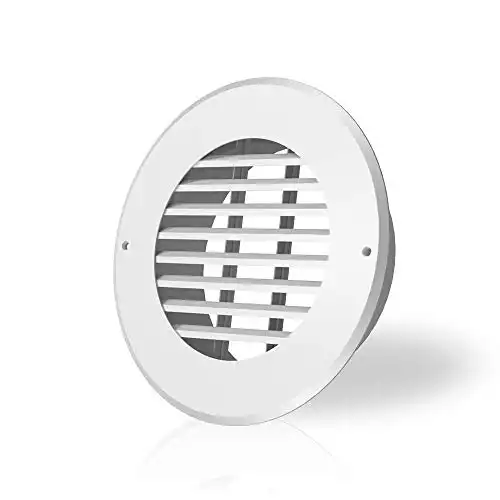
You will also need some flexible ductwork, which is also sold by AC Infinity: AC Infinity 8′ Duct; and a cover (if pulling air for a visible area): 4″ Duct Cover
If you need more airflow, you can also upgrade to a 6″ model, but I don’t think you’ll need the extra size for this application.
Options for a larger 6″ Fan Setup
|
5.0
|
5.0
|
5.0
|
|
N/A
|
$15.99
|
$21.99
|
Installing the duct fan
The AC Infinity fan is an inline duct fan with two 4” round duct connections on both sides. To install this to heat the underbelly, you will need to construct a short run of a four-inch flexible duct hose that is pulling the air for the cabin and exhausting it into the underbelly. To do this, you will need to cut an opening to the underbelly, unless you can find alternate access in your RV.
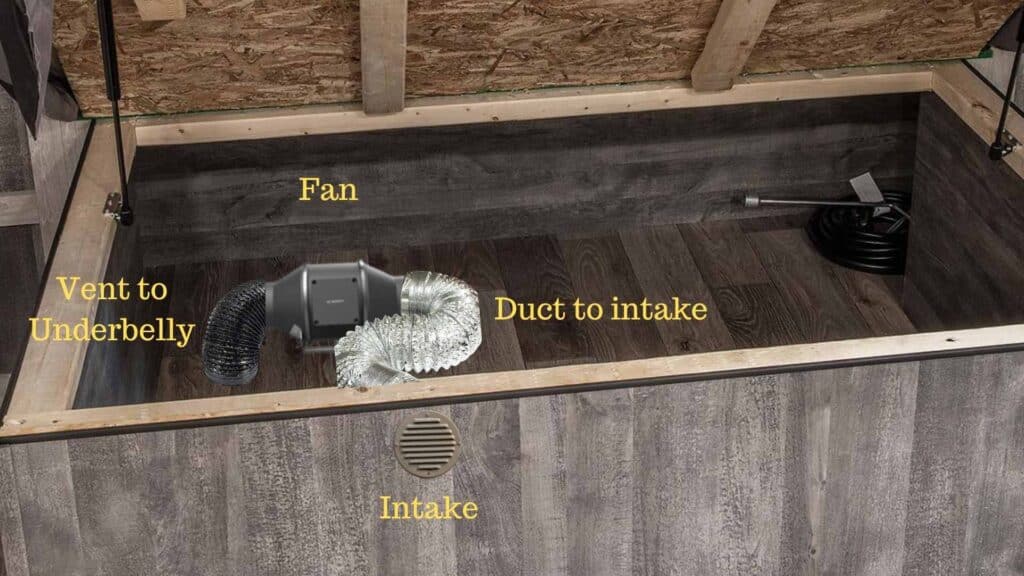
An excellent location to inspect for installing this is underneath a bed, bench, or cabinet. You will want to make sure that you install it closer to the water lines to get the most benefit out of it. The one downside to this is the loss of storage. However, if you are creative, you can install this in a seldom-used location. There is no one-size-fits-all installation, and this technique is definitely a custom DIY RV mod.
The AC Infinity fan that I’m recommending has a built-in thermostat to control the fan. You can place the thermometer into the underbelly cavity and set the temperature at whatever you want, which will trigger the fan to turn on. For instance, you may want to set it at 45 degrees F, which will pull air from the living area whenever the temperature of the underbelly drops below this setting.
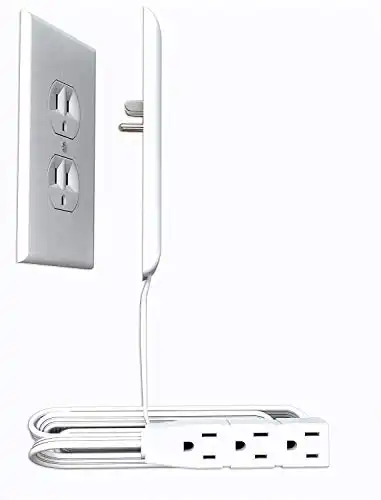
You will also need to install the fan near a 110V outlet to power it. If you want an even cleaner install, you may want to consider installing a dedicated outlet near the fan. Below is a great option if you don’t want to run a new line and need a low-profile extension cord.
Conclusion
While this project is not for everyone, it’s a viable solution if you are looking for an option to limit your propane use and keep your underbelly heated with electric heat. This setup keeps all equipment out of the way and can be installed to operate automatically, preventing a costly mistake if you forget to turn it on. You should only consider installing this if you are comfortable making modifications to your RV that will involve cutting into the floor and interior surfaces. Always be sure to inspect the area you’ll be cutting into so you don’t inadvertently slice through a wire, water line, or structural component.





Do you have pictures of a video of the finale set up?