In a previous article, I provided some steps for identifying the source of different odors in your RV. If you’re unsure what the smell is in your RV, start there since some of these smells can point to a problem that needs fixing. However, when you have a bad smell that you can’t get rid of, I’ve compiled a list of the best ways to remove odors from your RV. When camping, you should enjoy your time in nature, not being forced to sit outside because it’s just too stinky in your RV.
Before we discuss removing smells, let’s take a moment for a science lesson.
What Creates an Odor or Smell?
All odors start the same way, in the form of a volatile molecule. While we don’t need to dive into organic chemistry, remember that this type of molecule can easily turn from a liquid into a gas. Inside your nose, you have around six million little olfactory sensor neurons. This is what allows you to smell, for better or worse.
These volatile molecules are all around us and are everywhere around us, and most noticeable in organic material, including people, food, decaying matter, liquids, etc. Other inorganic compounds, like some chemicals, also produce strong odors. It’s these molecules that enter your nose that create the smell.
So, to get rid of an odor, you need to attack it at the source. If the material causing the unpleasant smell still releases these molecules into the air, the smell will be there. Getting rid of it will require the removal and neutralization of the source of the order. Unfortunately, it’s not always as simple as cleaning up the source of the smell. These molecules can seep into anything with pores, including fabric, wood, little nooks and crevices, and even some plastics.
Okay, lesson complete! Let’s move on to removing the smell in your RV.

Following simple steps, you can tackle just about any unpleasant RV odor.
Step 1: Remove the source of the odor
First, start by locating the source of the foul odor. This is often easier said than done. Something is releasing this odor, which can be your RV holding tanks, a dead mouse, or some spilled milk (don’t cry over it just yet). Your first step is to locate the material causing the smell and do your best to clean it up.
However, realize this isn’t always possible since smelly molecules seep into pores, surfaces, fabrics, or crevices. Also, some bad odors, like ones coming from your black water tank, are meant to be there. Rather than constantly removing the source (like dumping your black tank), you need to try to quickly allow the solids to break down and allow the smelly air to vent from the black tank vent or be neutralized in the tank.
Step 2: Neutralize the odor
Since some odors can originate from organic material that seeped into the pores of your RV and replacing the carpet, wood, appliances, etc., isn’t feasible or even needed, the next best thing is to neutralize these odors. We’ll cover some effective ways to do this, but keep this step in mind as part of your approach to tackling a nasty smell in your RV.
Step 3: Mask the odor
The good news about an odor is that it will eventually go away. All materials will eventually run out of odor-generating power and will dissipate on their own. However, some bad smells can take a long, long time. If you have things like cat urine or cigarette smoke, these can linger for what seems like forever. For example, cat urine can be noticed for months, or even years, if enough of it gets into the wrong place.
Since the reality is that you may need to wait out some odors, especially if you can’t easily remove the source (like a dead mouse behind a wall), you may need to wait it out, and masking the smell may be your best strategy. While it may seem like it does very little when the smell is fresh, as it lessens, a good air freshener can do wonders, especially one that also neutralizes the order.
Now that we covered the basic concept of removing an odor let’s dig into the details of how to eliminate specific odors you may encounter in your RV.
Black Tank Smells
A smelly back tank can be one of the most unpleasant odors you may encounter in your RV. If you use your black tank regularly, you’ll notice this at some point during the camping season, especially on hot summer days. An RV toilet odor is a very common RV smell annoying RV owners.
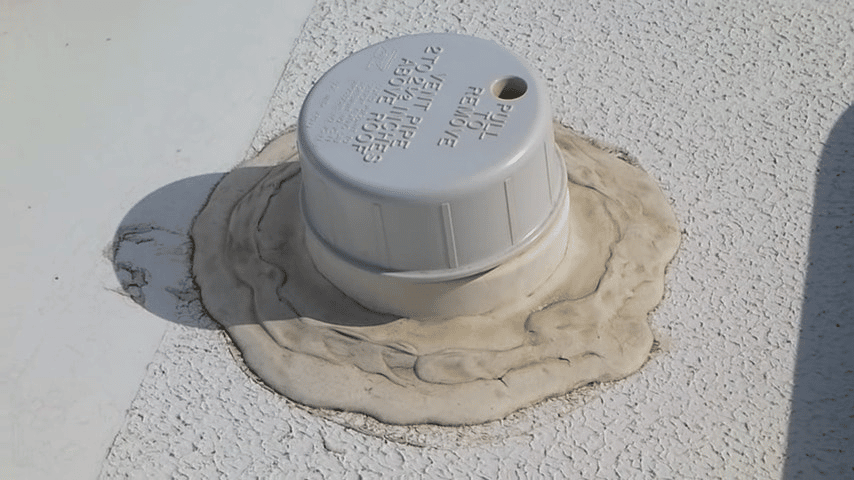
The good news about this black tank smell is that it’s easily remedied. Black tanks are designed to hold waste (smelly waste), but they’re also equipped to keep this odor from entering your RV. All RVs have a roof vent pipe, which allows the smelly gas to vent from the tank and into the atmosphere, high above where it can come in contact with your nose. If this vent gets plugged up, that gas has nowhere to go and will find an exit, which can be inside your RV, especially when you flush the toilet.
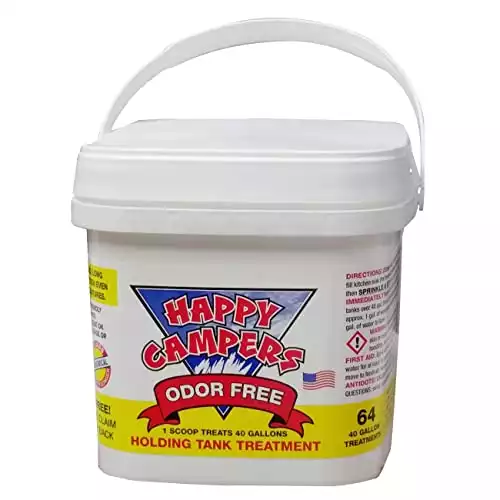
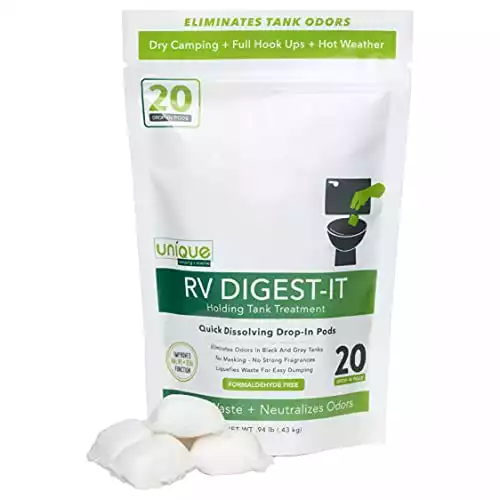
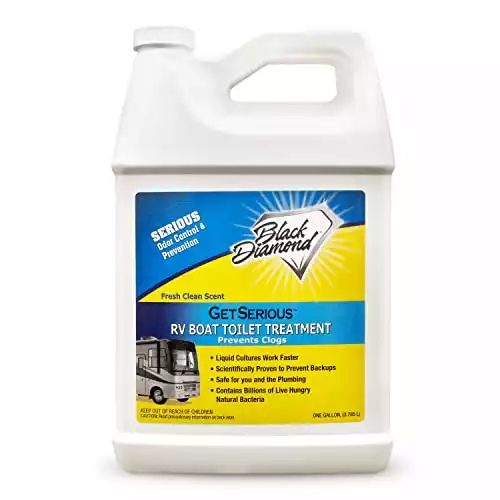
While a blocked vent can happen, it’s not common and likely not the cause of a smelly black holding tank. The most common reason you have black tank odors is that the solid waste is not being broken down quickly enough. When you add an RV tank treatment to your tank, you’re not just adding a better-smelling perfume to turn smelly air into pleasant sent. The treatment is designed to break down the waste quickly. Once it’s broken down or digested by healthy good bacteria, black tank waste has a much less pungent odor. It also allows the volatile molecules to release more quickly, creating lighter air more easily vented through the roof (and no longer lingers in the tank).
Not all treatments are created equally, though. Some treatment products are known to work better and are more efficient in promoting the decomposition process. Below are some of my favorites.
|
Our Pick
|
Highly Rated
|
Best Liquid Treatment
|
|
Primary Rating:
5.0
|
Primary Rating:
4.5
|
Primary Rating:
4.5
|
|
$55.45
|
N/A
|
$29.98
|
However, there may be a few other problems at play if you have a regularly occurring smelly tank. First, you may not be emptying when it’s full. As your black tank fills up, there is less and less space for the gas to reside. Think of it like an inflated balloon. The fuller the balloon, the more pressure that exists. The air wants to escape somewhere, which may be into your RV. If you wait too long to empty your tank, you’ll likely notice a smell, especially when flushing your toilet. It’s like opening the end of an inflated balloon.
Next, you may not be using enough water. For all RV black tank treatments to work, they need adequate water. If you have more solids (toilet paper, poop, etc.) than liquid in your tank, the treatment can’t do its job of breaking down the waste. After emptying your black tank, add a little water to an empty tank before you add your treatment powder or piqued. This will jump-start the treatment process and keep RV toilet smells at bay.
Another common, but noticeable source, is a leaky toilet. While your toilet at home has a trap, which constantly holds water in it to act as a barrier, so smelly air doesn’t back up into your home, an RV toilet probably has a straight pipe to the tank. The water in the toiler bowl keeps the orders where they belong, in the tank. If your toilet seal leaks (not holding water in the tank), smelly gases can seep into the RV. Luckily, this is an easy DIY fix costing less than $10.
You can clean the seal and lubricate it (where the ball contacts the rubber gasket) with a petroleum-based. You can buy RV toilet sealant to keep the rubber gasket from drying out. Also, you can apply petroleum jelly or a similar product to the underside of the gasket where it contacts the ball. If your gasket is worn out, it’s easy to replace, and they’re inexpensive.
Finally, if all else fails and you have a smelly toilet that you can’t get rid of, you may want to give it a good cleaning. While it’s always best practice to do a black tank flush after each camping trip, some RVs aren’t built with this feature. You can buy a toilet cleaning wand to do this from inside your RV if you don’t have a built-in black tank flush.
However, if you have a neglected back tank, an easy solution is to give it a good cleaning. First, purchase an RV toilet deep cleaning treatment. Follow the instructions, which usually consist of filling the toilet with water and the treatment products. You’ll need to let it sit for at least a day to be fully effective. The longer, the better, in my experience.
The deep cleaning solution will have more aggressive bacteria, designed to break down any built-up solids that were ‘t flushed from the tank. Depending on how dirty your tank is, you may need to do this a few times. You may also want to give it a power rinse, using your built-in black tank flush system or a toilet cleaning wand, after and between treatments. While it can be frustrating, with patience and time, even the most neglected black tank can be cleaned.
Gray Tank Smells
While a black tank can produce unpleasant smells, so can your gray tanks. You’re probably already aware that your black tank holds the toilet water, and your grey tank holds everything else. While this includes cleaner water, it is also where your dirty dishwater goes, soapy and dirty shower water, and where you dump that glass of old orange juice that your kid left out overnight.
All too often, most RVers neglect to treat their gray tanks. While you don’t need to do it all the time, it’s good to treat it periodically when camping. This will help break down any food or gunk and attaches to the inside of the tank, causing a smell.
You can use the same holding tank treatment you use in your black tank. While you can also clean it with vinegar and baking soda, it’s usually easier and less expensive to drop some treatment chemicals and let it sit overnight.
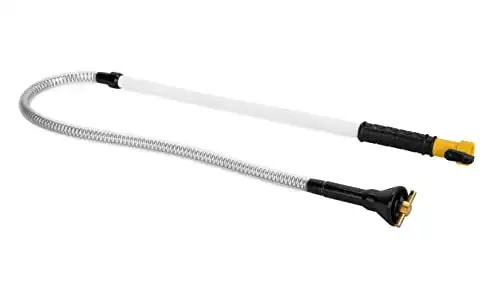
Another common source of a gray tank odor is a mild clog. If you notice your sink or shower isn’t draining as quickly as it should, you may have a small clod in your p-trap, just as you could at home. In this case, you can use a drain cleaning snake to free up any clog and release the gunk into the tank. If some cases, you may need to remove the trap and clean it out.
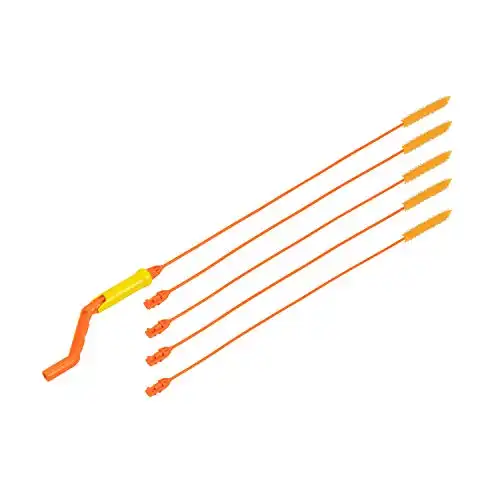
Perfect for RV drain cleaning. It's long enough for the short drain lines of an RV but safe for delicate RV plumbing. It's a must-have tool to store in your RV tool box.
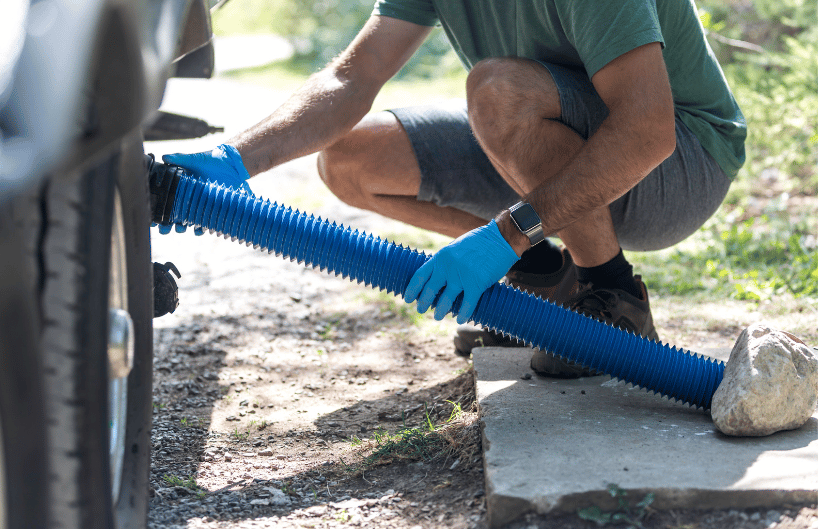
Finally, one other source to not ignore is the flush valve outside. Many RVers shoos e to keep the gray water tank valve open when connected to the sewer. While this works for reducing the number of flushes you need to do, it can also cause solids to build up in the tank and not fully decompose and flush out. Also, it’s possible that you can be getting some odors seeping up the sewer hose in from the sewer connection and into your RV through the sink or shower drain. If you suspect this, close the tank dump valves and see if this solves your odor problems.
Urine Odors
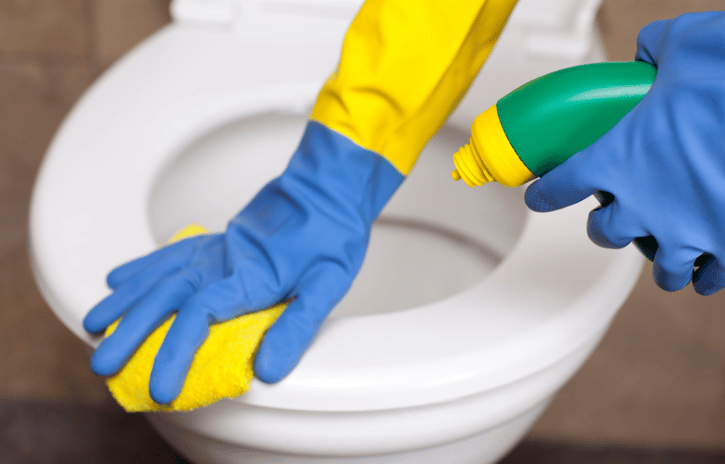
This is usually attributed to a few factors if you’re primarily smelling a urine odor around your RV toilet. The first and most obvious thing to check is the area in and around your RV toilet. While it’s not pleasant to write about, I know it’s even more unpleasant to live with. RVs are tight spaces and usually have smaller toilets. First, start by doing a deep clean in and around your toilet. Look for any areas where pee or toilet water could have splashed out of the toilet bowl and collected in and around the toilet.
The first thing to do is scrub around the toilet’s base, where it meets the bowl. While this can be attributed to the bad aim of your male campers, it’s also likely that high water pressure causes a bit of splashing when you flush. This common problem can easily be resolved with a water pressure regulator. A good cleaning is usually the best remedy regardless of how it got there.
Also, check the hinges around the seat and anywhere that could collect liquid. You want to remove the toilet seat and scrub the hidden areas where the seat connects to the tank. Check the corners of your walls, wash any carpets, shower curtains, etc.
You may also have a leaky seal. You have a leaky gasket if your toilet isn’t holding water or drains slowly when filled. Seal it up or replace it, and your odor problems should dissipate.
If the urine smell isn’t coming from the toilet area or RV bathroom, you may have some more investigating to do. A gross, but common problem, is mice pee. If you see any signs of mice inhabiting your RV, you can be sure their peeing and pooping in your RV. Inspect all cabinets, enclosed spaces, and any other areas where much can take up residence in your home on wheels. When you find the source, clean up all droppings and scrub the area. A mixture of white vinegar and water in a spray bottle usually works well to neutralize and eliminate the strong odor.
Refrigerator and Old Food Smells
One of the worst experiences is walking into your RV and immediately back out after you smell rotten food, only to realize you left something in your refrigerator or freezer between camping trips. This is usually a mistake you only make one time.

Dealing with this refrigerator odor may seem like an uphill battle, but you don’t need to go out and purchase a new refrigerator. First, remove the food, or what’s left of it, from the refrigerator. Next, you’ll need to scrub completely all of your shelves and surfaces in the refrigerator with a strong kitchen cleaner. If you want to keep it natural, vinegar does a good job.
Depending on how long it’s been sitting unattended, this may not be enough to eliminate the smell. While your appliance may seem cleaner than it was when you purchased the RV, the liquid from the decaying food likely seeped into the cracks and crevices of the appliance.
The next step is to take some baking soda and cover all flat surfaces in the RV refrigerator. Make sure you provide a good coating of it. Next, pick up activated charcoal and place it in your freezer and refrigerator with the baking soda (in a cup or container). Finally, turn on the refrigerator and let it run with the door closed for a few days.
This should do the trick and remove the odor. Remember, even if the item was only in the freezer, treat both the freezer and refrigerator since they’re connected, and liquids and odors can travel between both units.
Dead Mouse Smells
One of the worst smells to eliminate in your RV is when a mouse met its demise somewhere inaccessible. Mice love RVs, and if they’re not properly sealed, they make a great home for them. There are plenty of places for mice to make a nest in your RV: In cabinets, in enclosed cavities, under or in appliances, and inside roof and floor vents. When they die, it can often be in an inaccessible area.
A dead smell (from a mouse or other animal) can be super strong and quickly take over a small space like an RV. It often starts with a mild odor and gets stronger over time. If you smell it, first try to locate the dead mouse. This is the only quick way to get rid of the odor. You probably want to clean it out if you suspect it’s in the vent.
Vents
Cleaning RV vents can be challenging but not impossible. The easiest solution is to have the vents cleaned professionally. If the dead mouse is in an area you can’t get to; you don’t want the decaying mouse odor to be dispersed throughout the RV when you run the heater or fans. Professional help may be a good option if you can’t figure it out yourself.
If you decide to clean them yourself, be careful. Many RV vents are made from an aluminum film wrapped around a wire, similar to a dryer vent. These can be easily torn or punctured. To clean the vents, you’ll first need to access them. Take off a vent cover to gain access. I clean mine by carefully using a shop vac with a long flexible hose. Carefully extend the hose into the vent and gently push it towards the next register. Be careful not to push too hard if you reach an obstruction to prevent damage to the vent cover.
Repeat this step between all registers, sucking out any debris that may be in there. It’s not uncommon to suck out an acorn or torn fabric if a rodent made a nest. If you have a good idea of where the dead mouse is, focus your efforts there. A good tip is to use your phone camera and take a picture inside the vent to see if you can find the mouse or items that need to be cleaned.
Cabinets or Cavities
If the dead mouse smells behind a cabinet or in a cavity, you may need to remove a drawer, unscrew paneling, or find another way to get in. RVs have many small inaccessible spaces where wires and water lines run. This includes the areas in an enclosed underbelly. It’s not always easy to access them, but there is usually a way to do it with enough creativity and without destroying your RV.
Walls and Ceilings
If the smell is coming from your wall, you may have difficulty accessing it. Most newer RVs are made with laminate walls, without much space between the exterior and inter surfaces. This makes it less likely for a mouse to get in there. However, older RVs may have walls similar to your home, with a wood frame and fiberglass insulation packed into the cavity. In this case, a dead mouse could easily be in your wall cavity.
If you suspect this to be the case, investigate the possibility of removing a piece of interior paneling to get into the wall. In all reality, this can be a big job. If you can access it, great, but don’t destroy your RV trying to do it. While a dead mouse smell is terrible, it will disappear over time. However, it can take anywhere from 10-12 weeks for a mouse to decompose fully. The smell will dissipate over time, but it may take a couple of weeks until it’s largely unnoticeable. While removing the mouse corpse is always best and recommended, I realize it isn’t always feasible.

|
|

|
|
$23.98
|
$25.99
|
$9.95
|
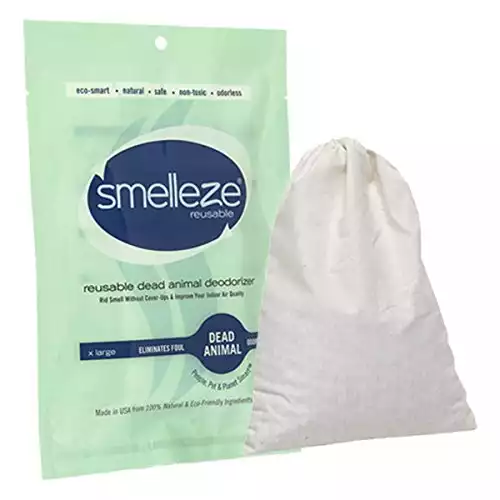
Your best solution may be to air out the whole RV as much as possible and try to neutralize the odor. Keeping activated charcoal throughout your RV will help. You can also use essential oil to help mask the nasty odors or purchase some odor remover bags. Use this time to practice good offense and try and find any areas where a mouse could get into your RV and seal them up.
Musty, Mildew, and Mold Smells
One of the most concerning orders you can smell in your RV is a must or mildew smell. This is especially concerning if it’s been some time since you were in the RV. Mildew or musty smells can often suggest moisture in your RV, and if it isn’t addressed quickly, it can lead to mold growth. In some situations, if there’s a leak, it can even can of structural water damage.
While this smell can be problematic, it’s not always a sign of concern, and the problem can be easily remedied. One of the biggest problems with moisture in your RV is poor ventilation, high humidity, and no way to get rid of it.
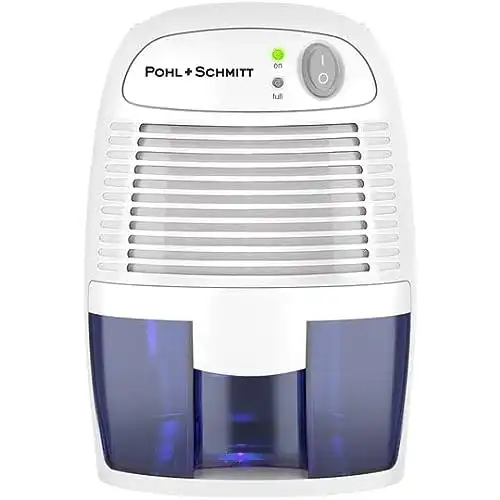
You don't need a huge dehumidifier for an RV. This small, affordable one works perfectly to eliminate general moisture issues and keeps your RV dry and functional on camping trips.
If you smell mildew, first look around and see if you can locate the source of the smell. It can be as simple as locating a wet towel you forgot in a corner. However, you may find a small leak or another water source getting into the RV. If you see an area where water is getting in, seal it. It may simply be a loose piece of sealant along a roof or window seam.
It’s also important to look in places that don’t get a lot of ventilation. A very commonplace, especially in the winter if you’re using your RV, is under the mattress. Since RV mattresses often sit on a sheet of plywood, air doesn’t get underneath them to dry them out. If this is happening to your mattress, it’s best to remedy it. Below is a good article describing how to do it.
Readdress the source of the mildew of the musty spell; the best way to get rid of it is first to address the source. Fix the cause of the moisture and fully dry out your RV. A small dehumidifier works great for RVs. Some campers will keep the dehumidifier running in the RV to keep the air dry.
If the wet area sits too long, it will eventually create mold. If this is the case, address the mold issue completely. In mild cases, a bleach and water mixture can kill the mold and allow you to remove it. Be sure to wear a mask if you will be scraping or vacuuming mold.
The smell eventually dissipates if you address the source and clean the area. Make sure you keep the inside air dry with a dehumidifier. On nice dry days, it’s also very helpful to open up the entire RV (windows, vents, etc.) and allow it to breathe. An air purifier also works great to speed up this process. I also suggest using an air neutralizer spray or candle to help cover up the smell while cleaning it up.
Cigarette or Burned Food Smoke Smells
If you ever burned something on the stove or had someone smoking in your RV, you know that the smell can last a long time and is quite unpleasant. Luckily, these odors eventually dissipate with time and when exposed to fresh air.
When the smell is really bad and venting your RV doesn’t do the trick, you may need to take some additional steps. First, start by wiping down all surfaces. The smoke residue will cling to almost anything but can be wiped away from many surfaces. The challenge is when it clings to the fabric. The residue and odor can get into the pores of the material.
This compact air purifier is more than enough to handle the small space of your RV. It has over 75,000 positive reviews on Amazon, and it is the perfect addition to your RV, keeping the air clean and odor free. You can purchase specific filters to tackle any type of odor or air quality issue you have.
In this case, if possible, wash the fabric material that came in contact with the smoke. Unfortunately, this isn’t always possible for things like window coverings. In this case, use an odor-neutralizer spray and keep a lot of fresh air flowing through the RV. An air purifier works wonders with these odors. While the smell will be strong at first, it will lessen over time.
Propane smell
If your RV smells like propane, you must solve this problem immediately. Propane has a distinct smell, intentionally added to the gas to alert people of a propane leak. Sometimes you get a propane smell when you run out of propane. This happens because the pressure isn’t high enough to run an appliance, but some propane sneaks into the RV interior space. If you find that this is the reason for the odor, it will only be short-lived and go away when you attach fresh propane tanks.
Propane odors won’t linger very long, so if you have a strong smell, don’t ignore it and locate the leak. While searching for the leak, turn off the propane tank and troubleshoot each appliance.
Rotten Egg smell
If your RV water smells like rotten eggs, the source is likely coming from your RV water heater. Anaerobic bacteria, while not dangerous, can react to the magnesium or aluminum anode rod in your RV water heater. This is usually the case if you smell it when running hot water. You’ll need to drain and clean your water heater to eliminate this odor. First, drain the RV water heater after it cools down and flush out any buildup in the tank. It may take a few rinses to get it clean. Next, flush your water heater with peroxide, a germicide. For a six-gallon heater, you will use 16 ounces of peroxide. With the empty water heater tank, use a funnel to pour the peroxide into the anode rod plug opening. Replace the plug and fill up the water heater. Don’t turn the water heater on when doing this.
Let the water heater sit for a few hours with the peroxide solution. Next, drain the water heater and fill it as usual. You may want to run a few tanks full of clean water before you turn it on. It’s also a good time to replace your anode rod if needed (before filling it with fresh water.)
Stagnant water smell
While you’ll most likely notice a holding tank odor from your black or gray tanks, it’s possible that you can have an issue with your potable water tank. If you leave fresh water in the tank for a long period of time, it can become stagnant and create strange smells. The best way to eliminate this smell and kill any bad bacteria is to treat the RV freshwater tank with chlorine. You simply fill the tank and add in about a cup of chlorine. Let the mixture sit for a few hours, and then run it through each of your faucets until empty. You may need to run a few tanks full of clean water through the system to get rid of the chlorine odor. This technique is also a great way to disinfect your entire fresh water system.