For a recreational vehicle (RV) owner, having access to power, whether on or off the grid, is very useful. One of the critical components of an RV’s electrical system is the battery or battery bank. RV batteries are essential in powering appliances like water pumps, lights, propane refrigerators and water heaters, and other items. An inverter may also power traditional AC appliances and items plugged into outlets.
While batteries are pretty reliable, they occasionally have problems, especially if they are older, not maintained, or improperly stored. The following guide will address the most common reasons for RV battery charging issues and how to fix them. For many of these tasks, the average person can learn how to diagnose and fix most battery-related problems.
THe following guide will walk you through every step of diagnosing your RV battery charging issues. However, here’s a quick list of things to check:
RV Battery Charging Problems Quick Tips
- Check the Converter: The RV converter is essential for charging the battery. Look for signs of a faulty RV converter charger, like a blown fuse, bad connection, or a non-functioning converter fan. A tripped circuit breaker or a failed circuit board can also indicate converter issues. In some cases, the converter may need repair or replacement.
- Inspect Wiring and Connections: Ensure that the battery connections and wiring are in good condition. Loose or corroded connections can impede electricity flow. Check battery cables, ground wire, and other wiring for damage, corrosion, or loose connections. If wiring is significantly damaged, it may need replacement. Also, remember to disconnect from power when inspecting wiring.
- Clean Battery Terminals: Regularly cleaning the battery terminals with a wire brush helps maintain solid, efficient electrical connections and prevents corrosion.
- Water Level in Lead-Acid Batteries: If using lead-acid batteries, maintain the proper water level. Low water levels can damage the battery and decrease its charging ability. Check the level regularly, especially in hot weather, and top up with distilled water as needed, but avoid overfilling.
- Check Additional Systems: Look into other systems like battery isolators, switches, and disconnects that manage the RV’s battery power. Also, if your RV has a solar panel system, ensure the connections from the panels to the battery are secure. Problems with these systems can affect the battery’s charging process.
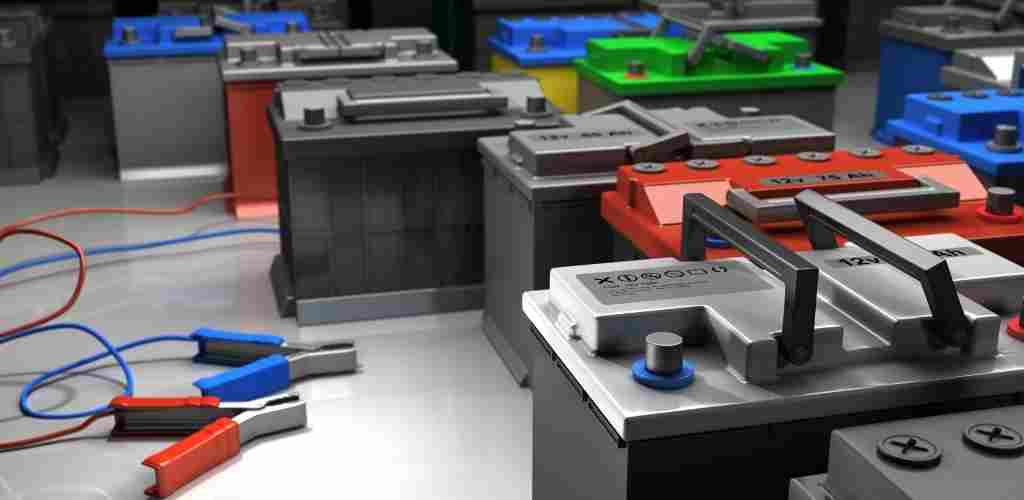
Know your Battery Type
Before you jump into the problem and solution guide, you must know what type of battery you have. Lead acid and lithium iron phosphate (LiFePO4) batteries are the two most popular types of batteries used in RVs. They have several key differences in capacity, lifespan, maintenance requirements, cost, and performance.
If you’re using the battery that came with your RV when you purchased it, you most likely have a lead-acid battery. While some manufacturers are starting to include the more expensive LiFePO4 batteries, most do not as a way to cut costs.
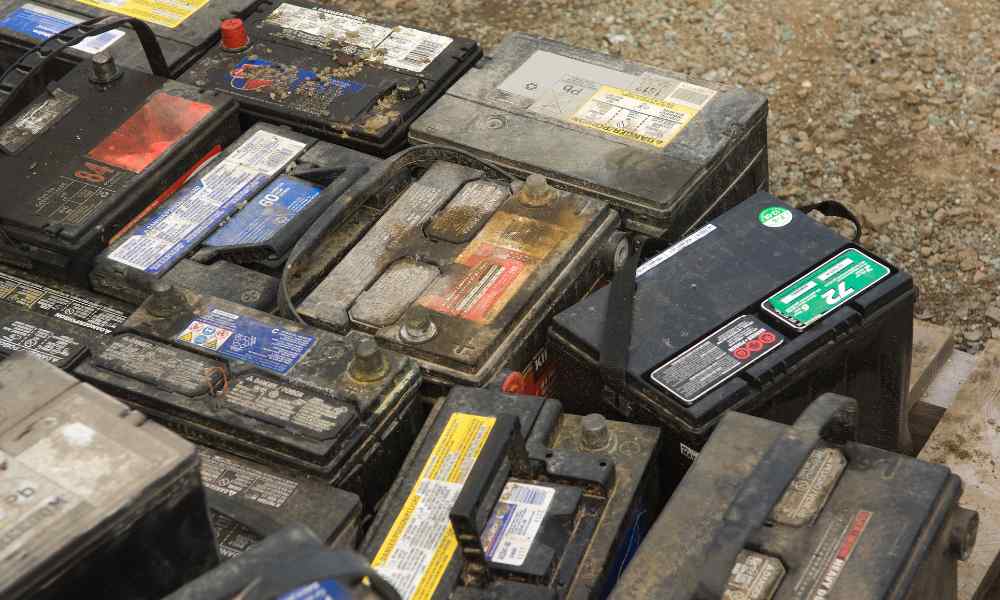
Lead Acid Batteries
Lead acid batteries have been the standard for RVs for many years. They are divided into two main types: starting (or cranking) and deep-cycle batteries. Starting batteries deliver short, high-amp bursts for cranking the engine, whereas deep-cycle batteries are designed to provide a steady amount of current over a long period. You will have (or should have) a deep-cycle battery in your RV.
Capacity: Lead acid batteries typically have a lower capacity than lithium batteries, and only 50% of their capacity is recommended to prevent damage and prolong their lifespan.
Lifespan: Under ideal conditions and proper maintenance, lead acid batteries can last 3-5 years.
Maintenance: These batteries require regular maintenance, including water level checks and refilling with distilled water.
Cost: They are generally more affordable upfront compared to lithium batteries.
Performance: Their performance can degrade in colder temperatures, and they are heavier than their lithium counterparts. Also, they take longer to charge.
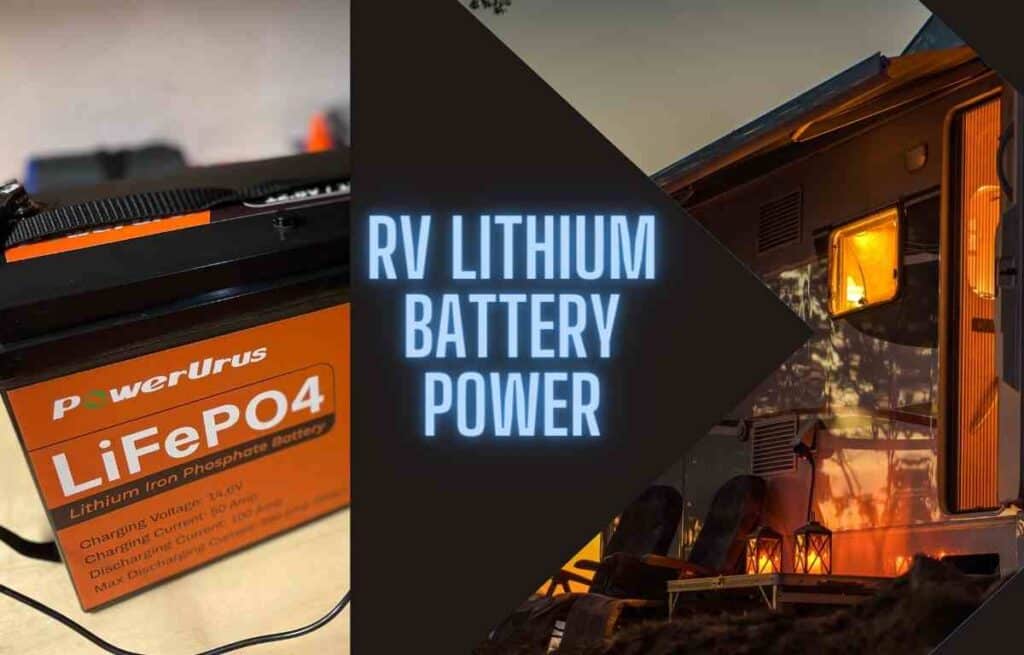
Lithium Iron Phosphate (LiFePO4) Batteries
Lithium iron phosphate (LiFePO4) batteries are a type of lithium-ion battery. They are a relatively new addition to the RV world but offer several advantages over traditional lead acid batteries.
Capacity: LiFePO4 batteries have higher capacity and can be discharged almost completely without causing damage, increasing the usable capacity.
Lifespan: They have a much longer lifespan than lead-acid batteries, often up to several times the lifespan. Some lithium batteries can cycle through full charge and discharge 2000 times or more.
Maintenance: These batteries are virtually maintenance-free, which can be a significant convenience for many RV owners.
Cost: They have a higher upfront cost, but due to their longer lifespan and lower maintenance requirements, they can be more cost-effective in the long run.
Performance: They perform well under a wide range of temperatures, are lighter than lead-acid batteries, and can be charged more rapidly.
In conclusion, while lead-acid batteries are cheaper and have been the traditional choice for RVs, lithium iron phosphate batteries provide many advantages that make them a better choice for many RV owners, including a higher usable capacity, longer lifespan, low maintenance, and better performance. The right choice will depend on your specific needs, budget, and RV use.

Symptoms of an RV Battery Problem
The first step towards addressing any issue is recognizing if there is one. While some issues may seem related to the battery, that’s not always true. To help you diagnose your issue, here are some of the most common signs indicating a problem with your RV batteries:
The RV 12-V appliances are not working correctly.
When your RV’s 12-volt appliances start malfunctioning, it can indicate issues with the RV’s battery. These appliances rely on the power stored in the battery to function. If the battery is not charging correctly or maintaining its charge, these appliances might fail to operate, work intermittently, or exhibit reduced performance.
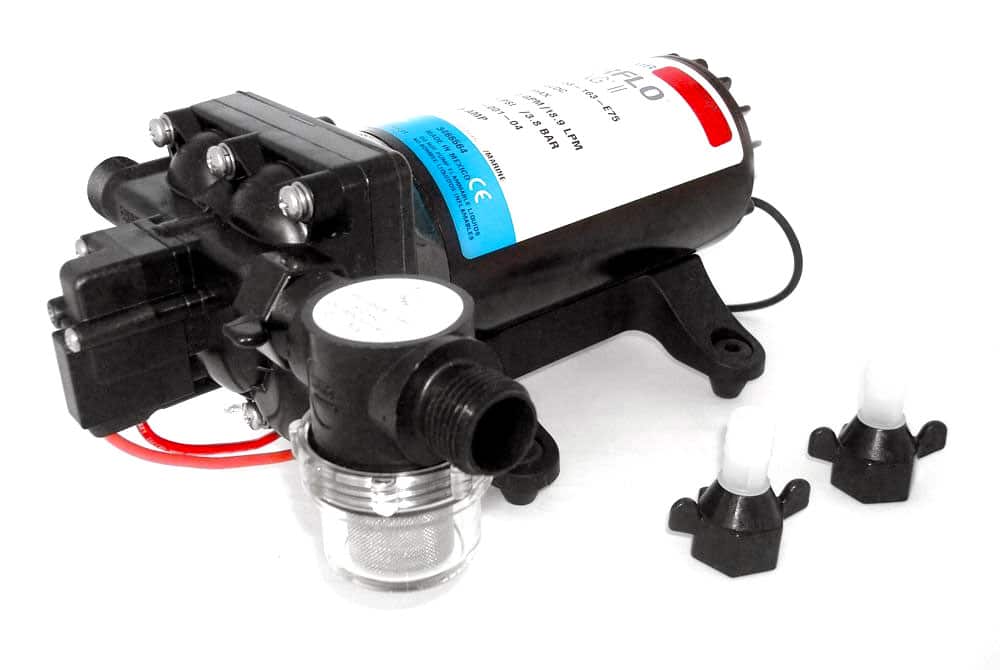
For instance, you might notice your lights dimming, the refrigerator not staying cold on propane, or the water pump struggling to pump. This could be due to the battery not delivering the required power because it is not charged sufficiently. If one appliance is acting up, but the others are fine, it may not be a battery issue.
However, if you notice two or more issues with 12-volt appliances, there’s a good chance you’re not getting the proper power from your battery. Also, remember that the batteries, unless specifically designed to do so, won’t power heavy AC appliances like an air conditioner or electric water heater, even with an inverter. You will need a very large battery bank to do this.
The battery dies quickly.
A healthy RV battery should hold a charge for an extended period. If your house batteries cannot hold a charge for long, it’s a clear sign of charging issues. A house battery dying quickly could be a symptom of several problems, such as a faulty charging system, old battery age, damaged cells within the battery, or even excessive power consumption by your RV appliances. Moreover, environmental conditions such as extreme temperatures can also affect the battery’s ability to hold a charge. If your battery goes from a full charge to a low charge much faster than it used to, it’s time to investigate and address the problem.
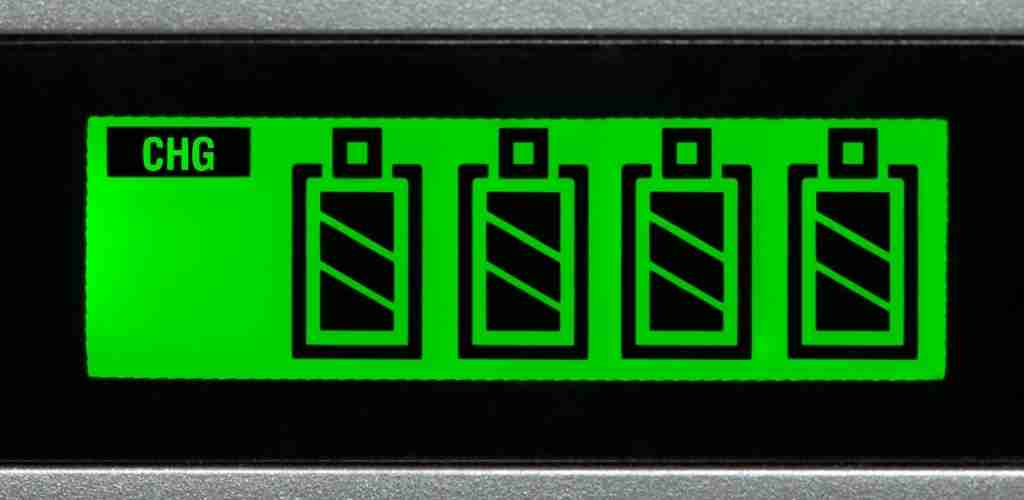
The battery voltage is low.
The voltage of an RV battery provides a quick and easy way to check its health. A 12-volt deep cycle battery should read around 12.6 volts or higher when fully charged. You can use a volt meter to measure the DC voltage reading of your battery. If the reading is significantly lower than 12.6 volts even after charging, it indicates that the battery is not charging to its total capacity. This could be due to issues with the RV’s charging system, such as a faulty converter or bad wiring, or it could be due to problems within the battery itself, such as damaged cells or low electrolyte levels.
Visible damage to the battery terminals
The terminals, or battery posts, are critical parts of the battery, providing the electrical connection between the battery and the RV’s electrical system. When these are damaged, corroded, or dirty, it can impede the flow of electricity, affecting the battery’s ability to charge and deliver power to the RV’s systems.
White corrosion is a common issue that can occur on battery terminals and can be caused by a reaction between the battery acid and the terminals. Other visible signs of damage could include cracks, bulging, or leaks. If there is damage to the terminals, it can prevent the battery from fully charging, reducing overall battery life. It is essential to regularly inspect your battery terminals and clean or repair them as necessary to ensure your battery charges correctly and your RV’s electrical system functions efficiently.
Troubleshooting the Problem
The next step is to perform a systematic check on potential problem areas. This includes:
Battery Age and Type
The lifespan of your RV battery largely depends on its type and usage. Traditional lead-acid deep cycle batteries are typically designed to last 3 to 5 years under proper maintenance and use. If your battery is significantly older than this, there’s a good chance you have a bad battery. However, with the advancements in battery technology, lithium batteries have emerged as a long-lasting alternative, often exceeding the life span of traditional batteries by several years.
The age of the battery is a crucial factor to consider when troubleshooting charging problems. Older batteries often suffer from diminished capacity and efficiency, which affects their ability to hold a charge. Regular use, charge cycles, and the natural aging process can degrade the battery’s internal components, leading to issues with charging and overall performance. If your batteries are reaching the end of their expected lifespan, the best course of action may be to replace them with new ones.
The RV Converter
The RV’s power converter plays a vital role in maintaining your RV battery’s health by converting AC power from an RV park’s shore power or generator into DC power, which is then used to charge the RV’s batteries. This system is essential for keeping your battery charged while you’re plugged into a power source.
A faulty battery charger can lead to various electrical issues. If the converter is not functioning correctly, it might not supply sufficient power to the battery, leading to undercharging. Signs of a faulty RV converter charger could include a blown fuse, a bad connection, or a non-functioning converter fan. Also, the circuit breaker may have tripped, or the circuit board may have failed. In such cases, the converter may need repair or replacement.
Wiring and Connections
The health of your battery connections and wiring is critical to properly ensure your RV battery charges. Loose or corroded connections can create resistance that hampers the flow of electricity, affecting the charging process and the battery’s overall performance. Check the battery cables, ground wire, and other wiring for any signs of damage, corrosion, or loose connections.
Additionally, since RVs bounce around a lot when traveling, it’s not uncommon for a wire to rub against part of the RV and ground out. I’ve had this happen when a wire rubbed against the frame, allowing the insulation or wear and exposing the wire to metal. This was an easy fix but a challenging problem to identify.
Cleaning the battery terminals with a wire brush is a good idea to maintain optimal connections. Regular cleaning can help prevent corrosion and ensure a solid, efficient electrical connection. If there is significant damage to the wiring, it may need to be replaced.
Battery Water Level
Maintaining the proper water level within the battery is necessary for optimal performance for those using lead-acid batteries. The water in these batteries facilitates the chemical reactions necessary for the battery to function. If the water level drops too low, it can expose the battery’s internal components, leading to damage and a decreased ability to hold a charge.
Check the water level regularly, especially in hotter weather when evaporation can cause levels to drop faster. If needed, top up the battery with distilled water, ensuring not to overfill. Regular water level maintenance can prevent many battery issues and extend the life of your battery.
If you’re new to battery maintenance, I suggest watching some YouTube videos on how to check and fill your batteries. It’s essential to complete these steps as the battery manufacturer suggests to prevent any damage to the battery.
Additional Systems
Apart from the primary charging system, additional systems like the battery isolator, battery switch, and battery disconnect switch play vital roles in managing your RV’s battery power. Any issues with these systems could impact the battery’s charging process and ability to supply power to your RV. Before tearing anything apart, the first thing to do is to check to see if you have a battery cutoff switch that disconnects the battery from the RV. If you do, ensure it’s on in the off position.
Similarly, RV inverters, which convert DC power back into AC power for use in the RV, could also be problematic. Issues with the inverter can affect the RV’s electrical system, leading to apparent problems with the battery. Therefore, if you’ve ruled out other issues and your battery is still not charging correctly, it may be worthwhile to check these additional systems. Remember, not all RVs have inverters, so if you are unsure, check your owner’s manual to see what components are installed in your RV.
Also, if you have a solar panel installed on your RV, they’re likely part of the RV charging system. Check the connections from the panels to the battery.
Fixing the Issue
Depending on the identified issue, you might be able to fix it yourself or need professional assistance. Here are some potential fixes:
Replace the Battery or Batteries
In some cases, if you’ve got a dead battery or one that’s bad beyond repair, the most effective solution might be to replace it. Battery failure could be due to several reasons, such as age, damaged cells, or prolonged undercharging or overcharging. When selecting a new battery, consider the type that best suits your needs – lead-acid deep cycle or lithium batteries. Each type has pros and cons regarding life span, maintenance needs, and cost. You might also want to consider the battery’s capacity, ensuring it’s adequate to power your RV’s appliances and systems.
I recommend switching to a Lithium-ion battery for increased performance, overall dependability, and maintenance-free ownership. Check out the following article on an excellent yet affordable lithium-ion battery option for your RV.
Fix the Converter
The RV converter is vital in charging your RV battery, converting AC power from an external power source into DC power that charges the battery. If you’ve identified a blown fuse in the converter, replacing it with new amp fuses can often resolve the issue. Remember to use an inline fuse if required to protect the circuit.
If the issue lies within the converter itself, such as a faulty circuit board or a failed converter fan, you may need to replace the entire converter. A new converter can restore your battery’s charging system to full functionality, ensuring your RV’s electrical system operates as intended.
While converter issues are not too common, they can occur. If you have a newer battery and can charge it with an external charger but not when connected to the RV, it’s a sign there may be an issue with the converter. The best way to diagnose this problem is to disconnect and charge the battery with a portable charger. Check your inverter and connections to see if it charges correctly and holds a charge.
Repair or Replace Wiring
Loose or corroded connections can often be the root of RV battery problems. These can usually be fixed by tightening the connections or cleaning any corrosion with a wire brush. This helps to establish a solid electrical connection, ensuring efficient charging and power delivery from the battery.
However, it may need to be replaced if the wiring is significantly damaged or degraded – for example, due to physical damage, extreme weather conditions, or poor-quality materials. Replacing damaged wiring is essential to prevent potential electrical hazards and ensure your battery and electrical system function efficiently.
Most connection and wiring problems will occur outside the RV, where the wires are exposed to the elements. However, it’s not uncommon to find issues inside your electrical box near the converter or panel. Always disconnect the RV from power (AC and DC) when inspecting and making adjustments to wiring.
Regular Maintenance
Just like any other component of your RV, your battery system needs regular maintenance to stay in good condition. If you have lead-acid batteries, it’s crucial to check and maintain the water level in the battery. Use distilled water to top it up when necessary, but avoid overfilling.
Before storing your RV for an extended period, ensure your battery is fully charged. A battery left discharged for long periods can suffer permanent damage. Furthermore, ensure the battery disconnect switch is off when your RV is not used. This helps to prevent any parasitic loads from draining the battery.
Proper maintenance is indeed the easiest way to prevent many battery issues. It can extend your battery life, improve performance, and save you from unexpected issues during your camping excursions. Remember, caring for your RV battery is an ongoing task, not a once-in-a-while job.
If you have a lithium-ion battery, you will not have to maintain the battery the same way (no adding water). However, it’s a good idea to reach guidance from the battery manufacturer on maintaining and storing it. Batteries left in extreme conditions, such as stored outside over the winter when not in use, can cause any battery to malfunction. At the end of the camping season, it’s a good idea to disconnect the battery and store it in a dry and warm location. You may also want to install a smart float charger on the battery to keep it topped off.
Final Thoughts
Your RV’s battery system is the lifeblood of your home on wheels. Proper maintenance and understanding of your charging system ensure a smooth, enjoyable, and hassle-free journey. With a battery monitor, you can regularly check your power and identify any potential voltage drop. Always remember, keeping your RV’s batteries in good condition is not just a good idea; it’s a necessity. Good luck, and enjoy your travels!