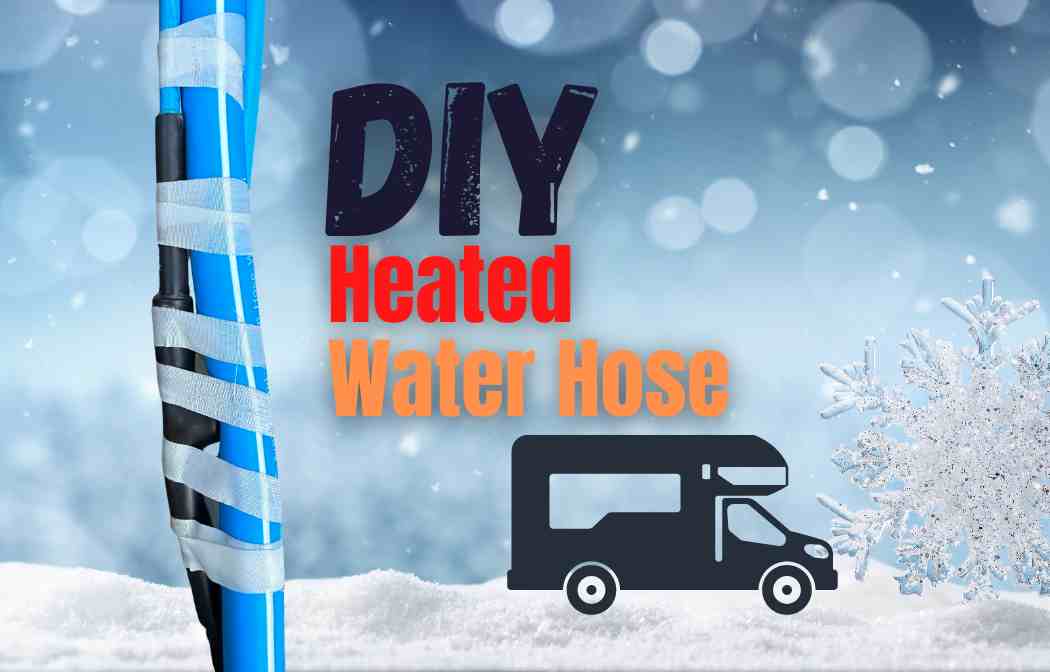
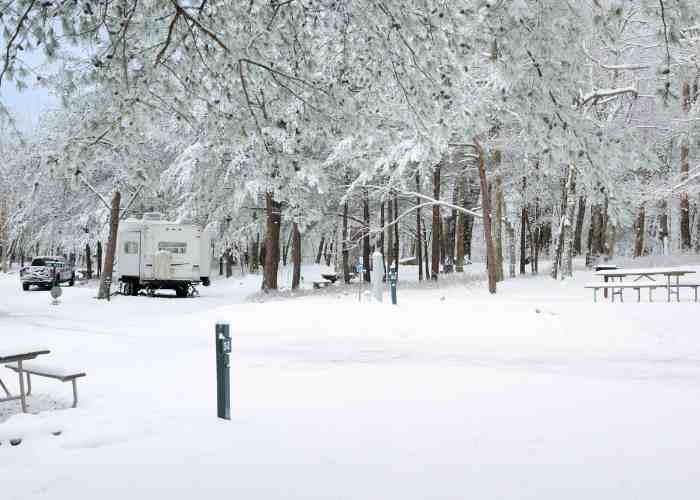
Camping in the winter can be a lot of fun. However, some challenges must be overcome, especially if the temperature drops below freezing. The main concern is preventing water from freezing in your RV plumbing lines and the water supply hose feeding your RV. A heated water hose is a must-have when camping in winter. I built a 75-foot DIY heated RV water hose that worked flawlessly on even the coldest of days. Here’s a quick overview of the process, but for full details, be sure to read the entire article:
DIY Heated Water Hose Steps:
- Step 1: Gather all necessary materials, including heat cable, drinking water-safe hose, pipe insulating tubing, heat-resistant tape, all-weather duct tape, and outdoor faucet insulation caps.
- Step 2: Test the hose and heat cable for any defects.
- Step 3: Lay out the hose and place the heat cable next to it to plan the arrangement.
- Step 4: Secure the heat cable to the hose, either by wrapping around or running parallel.
- Step 5: Position the thermostat of the heat cable correctly and prepare it for the spigot connection.
- Step 6: Cover the hose and heat cable with foam pipe insulation.
- Step 7: Tape the insulation securely, ensuring full sealing.
- Step 8: Attach the constructed heated hose to the RV and outdoor spigot.
- Step 9: Use excess heat cable to wrap around the connections to the spigot and RV inlet.
- Step 10: Plug the heat cable into a suitable power source, ideally a GFCI outlet.
- Step 11: Turn on the water, check for leaks, and ensure the heat cable is properly functioning.
While it may seem challenging, with some ingenuity, RV owners can create a DIY solution to keep their RV’s water flowing in even the coldest temperatures. In this article, we’ll review the necessary steps to create a DIY heated water hose at a fraction of the cost of purchasing a prebuilt one. All you need is a hose, heat cable (some people call it heat tape), foam pipe insulation, and some tape. Sometimes the best heated water hose is one you build yourself.
Before we jump into the step-by-step guide, I compiled a lot of resources and answered some common questions about building a heated water hose. Feel free to keep reading or access the information you need from the table of contents below.
Common Heated RV Water Hose Questions
Is a heated RV water hose necessary?
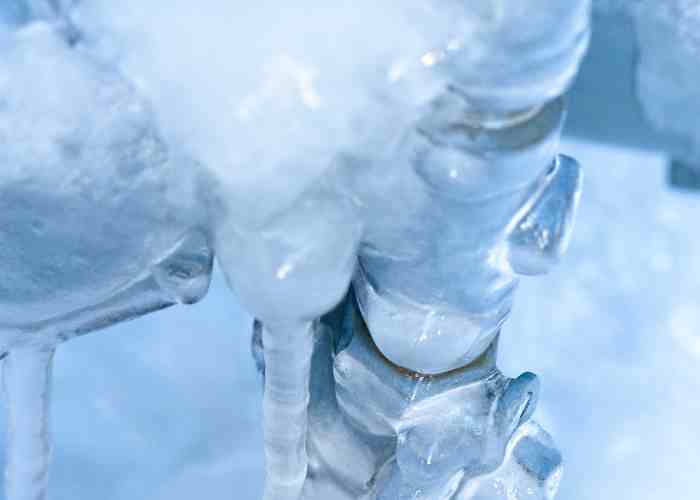
If you plan to camp and run water in your RV when the temperature drops below freezing for an extended time, you will likely need a heated RV water hose. If you don’t heat your hose, at best, you’ll end up with a frozen hose that will prevent you from getting water in your RV. At worst, if a hose freezes, you can damage the hose or the connection points to your RV.
As an alternative you a heated water hose, you could fill your fresh water tank with potable water and use that, but if you’re staying put for a longer period, one of the best ways to get water is with a permanent heated hose setup.
How cold does it need to get for a hose to freeze?
Water will begin freezing if the outside temperature drops below 32 degrees Fahrenheit (or 0 degrees Celsius). However, it doesn’t happen immediately; it can take several hours before a hose freezes solid. The colder the temperature, the faster it will freeze.
If you think about something we’re all familiar with, making ice cubes in a freezer, you’ll know that it can take a while before the water freezes. If you have thick ice cubes, it will take several hours before they’re solid. However, it can happen relatively quickly if you have only a little water in an ice cube tray.
A hose is no different than ice cubes. While it will begin to freeze when the temperature drops before freezing, the water in the hose will start to turn to ice from the outside edges f the hose inward. In most situations, it will become slushy after about an hour or two, and if left out overnight in cold weather (below freezing), it will be solid by the morning.
The good news is that if the forecast is calling for only a couple of hours, where the temperature will dip just below freezing, chances are that the hose will not freeze solid. So while a heated RV water hose is a good precaution, it’s not always necessary.
How does a heated RV water hose work?
Whether you build a DIY heated water hose or purchase a prebuilt one, they all work similarly. A heated hose will contain three key elements:
- A drinking water-safe hose
- A heating element, which is usually a heat cable, and
- Some type of insulating material around the hose and cable.
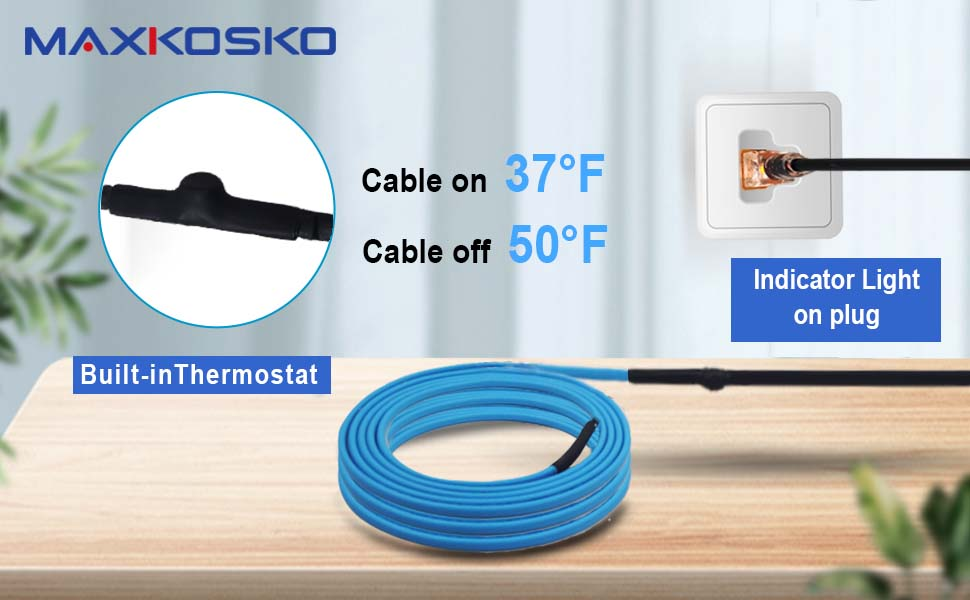
Most hoses will have a temperature sensor, which automatically turns on when the temperature of the hose (close to the water temperature) drops close to freezing, providing steady heat to the water line to prevent the water from freezing. It will turn off when the sensor temperature is above freezing (usually mid-30 degrees Fahrenheit).
How long can a heated water hose be?
Theoretically, a heated water hose can be however long you need, assuming the heating element has enough power to operate. If you need a longer hose, you can generally find the materials for up to 100 feet. If you want a longer hose, you’ll need to connect hoses together and may need to use two separate heat cables. However, in theory, and with the correct setup, you can build a heated hose for any length you desire. Heat cable is available in different lengths and can be adjusted to fit the length of your hose.
One of the biggest constraints of a long, heated RV water hose is cost. When buying a premade hose, a long one over 25 feet will be expensive. While you can buy prebuilt hoses up to 100 feet, building your own is much more economical. The example below demonstrates the steps for building a 75 ft. heated RV water hose.
How much electricity does a heated RV water hose use?
While each hose is a little different, all will tell you how many watts the hose will use. The wattage depends on the heating element and length. Longer hoses will use more electricity than shorter ones. In my example, the heating cable I chose uses 5 watts per foot. I am using a 100 ft. cable, meaning the draw will be 500 watts when fully powered. This is comparable to running five 100 Watt light bulbs.
However, as the outdoor temperature increases, the cable will use less electricity to heat it and self-regulate. This is an important power-saving feature you want in our RV heated water hose.
How cold can the outside temperature get for a heated RV water hose to still be effective?
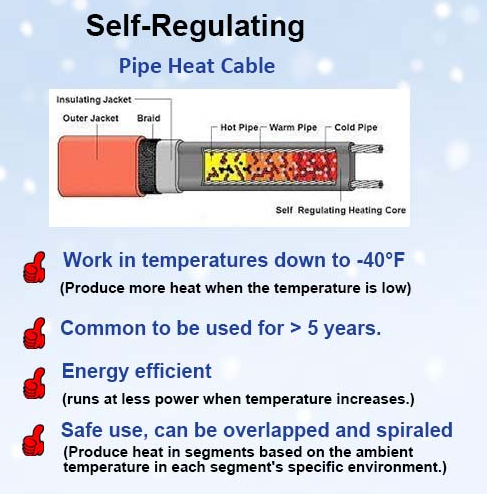
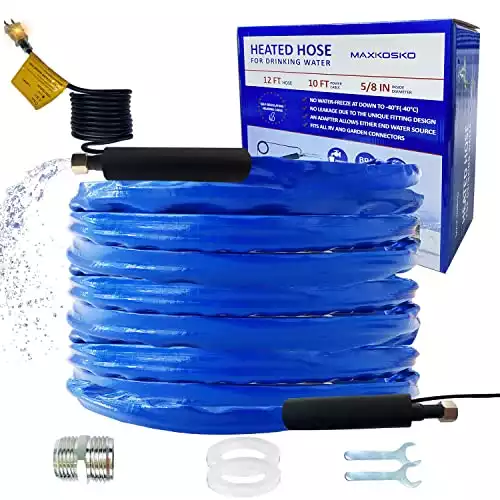
This is an important question you should ask when shopping for a hose or heat cable. Some heated hoses or cables may only be capable of keeping your lines flowing down to 20 degrees Fahrenheit. This is a limiting factor. However, the heating cable I used is effective at -40 degrees Fahrenheit, which is well below even the coldest temperatures I can expect in upstate NY. Regardless of whether or not you choose to buy or make an RV hose, ensure that it’s capable of working in the coldest of temperatures in your region. Maxkosko makes excellent cables that are suited for even the most extreme environments.
Should I purchase a prebuilt heated water hose or make my own?
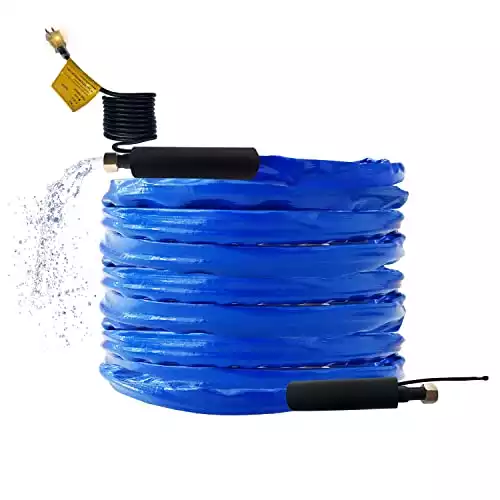
There is no right or wrong answer to this question. The benefit of purchasing a prebuilt hose is that it’s ready to go as soon as you open the box. The supplier of my heat cable, Maxkosko, also makes prebuilt hoses in varying sizes. These are good options if you want an easy solution for a simple setup.
However, building your own heated water hose may be a great option if you have a long run and need a custom size hose. For example, in my situation, I required a long 75 ft. hose to get water to my RV. While I could have purchased a prebuilt option, a DIY provided significant cost savings. Additionally, I was able to customize my setup to run extra heat cable around the outdoor faucet, pressure regulator, and RV inlet connection, which wouldn’t be possible with a prebuilt hose.
How to Build DIY Heated Water Hose
What type of hose should I use?
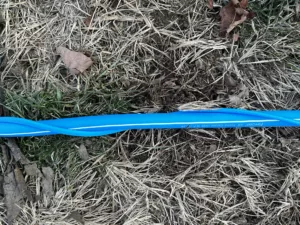
In most situations, you will want to use a ridged hose, which will allow you to wrap the heated cable around the hose securely. While I usually use a collapsible hose for everyday water use in the spring and summer, this isn’t the best option for building a heated water hose. You want to ensure that the heating cable makes contact with the hose, which is hard to do with a collapsable hose.
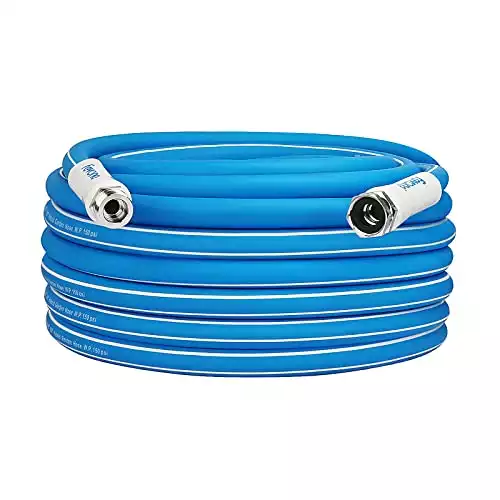
The hose I chose to use is a Fevone, which is a semi-rigid hose that uses three layers. The outer layer provides durability and rigidity, allowing me to wrap the hose with the heating cable easily. The inner layer provides a drinking water-safe material. This setup allows for a more flexible hose and extra insulation to improve its effectiveness and prevent the water from freezing. Don’t use a standard garden hose (non-drinking water) if you plan to use the water for drinking.
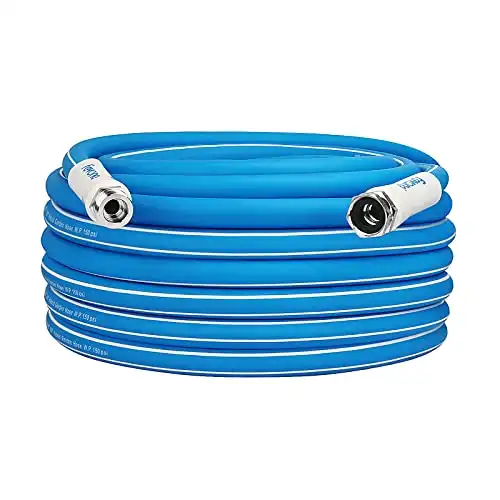
Drinking Water Safe
How much heat cable do I need when making a heated water hose?
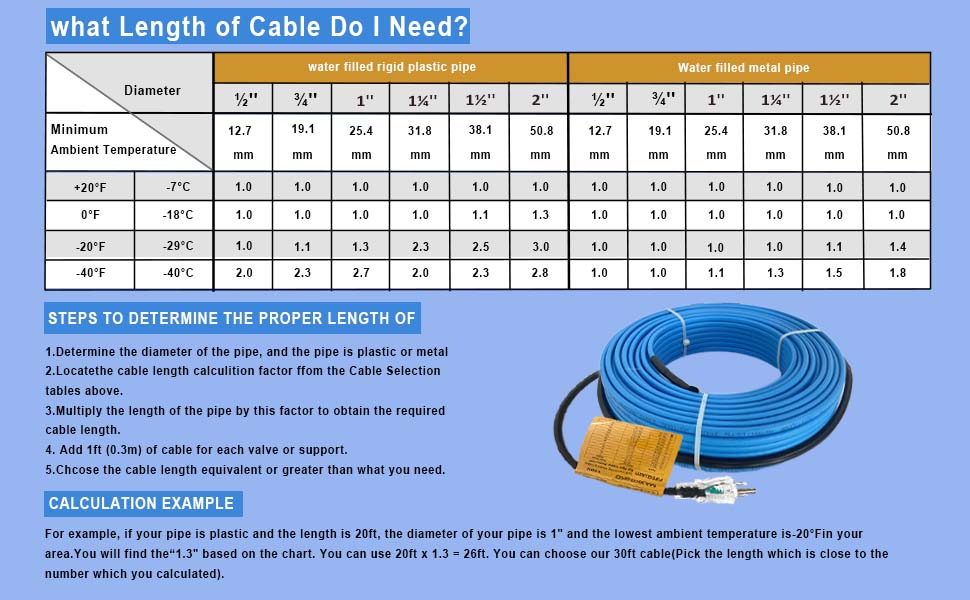
This answer depends on the hose’s length, diameter, and the anticipated temperature of the location where it will be installed. Maxkosko has a handy chart to help determine how much cable you need. In colder environments, you will want to include tighter wraps around the hose, which will use more cable. In the following example of a 75 ft hose, I used a 100 ft. cable for a 5/16th inch hose. This provided enough cable to wrap the hose and be effective below -20 degrees Fahrenheit.
However, if you’re camping in an area that doesn’t get too cold, you’ll require fewer wraps and less heat cable. My setup described below is likely overkill for my region, but it will provide more than enough heat to keep my lines flowing even on the coldest nights in upstate NY.
Will the heat cable melt my hose?
The heat cable I used in the example below will not melt a standard RV water hose because it has an insulated sheathing around it. Therefore, it’s safe to use on plastic, metal, or rubber hoses. Some heat cables or tape that allow the metal heating wire to contact the hose directly could create an issue if the hose isn’t rated for high temperatures. However, a cable like Maxkosko is safe for a standard RV drinking water hose.
Should I wrap the heat cable around the hose?
There are several opinions on how the heat cable should be applied to the hose. In mild climates, where temperatures don’t drop too far below freezing, simply placing the hat cable in a straight line along the hose should be sufficient. However, in colder climates, you can benefit from the added contact the heat cable has with the hose when you wrap it around the hose in spirals along the length of the hose. Of course, the tighter the spirals, the more contact the host will have with the cable.
Maxkosko has a chart that helps determine the cable’s necessary length compared to the hose’s length. It’s based on the diameter of the pipe/hose, the temperature conditions of the area you’ll be using it, and the overall length of the hose.
In my situation, I chose to wrap the hose to maximize the ability of the heat cable to prevent the water source from freezing. This provides me with more contact between the hose and cable and will help when the temperature dips below freezing for an extended period.
Do I need to insulate the hose and heat cable?
Yes, you want to add pipe insulation around the hose and heat cable for the most effectiveness. Not only will the insulation provide a significant improvement to the hose, but it will also keep the entire setup secure. It’s very important to insulate your hose, so it works as intended. Insulating your hose is easy and inexpensive. You simply place pipe insulation around your hose and use tape to keep it in place. That’s all there is to it.
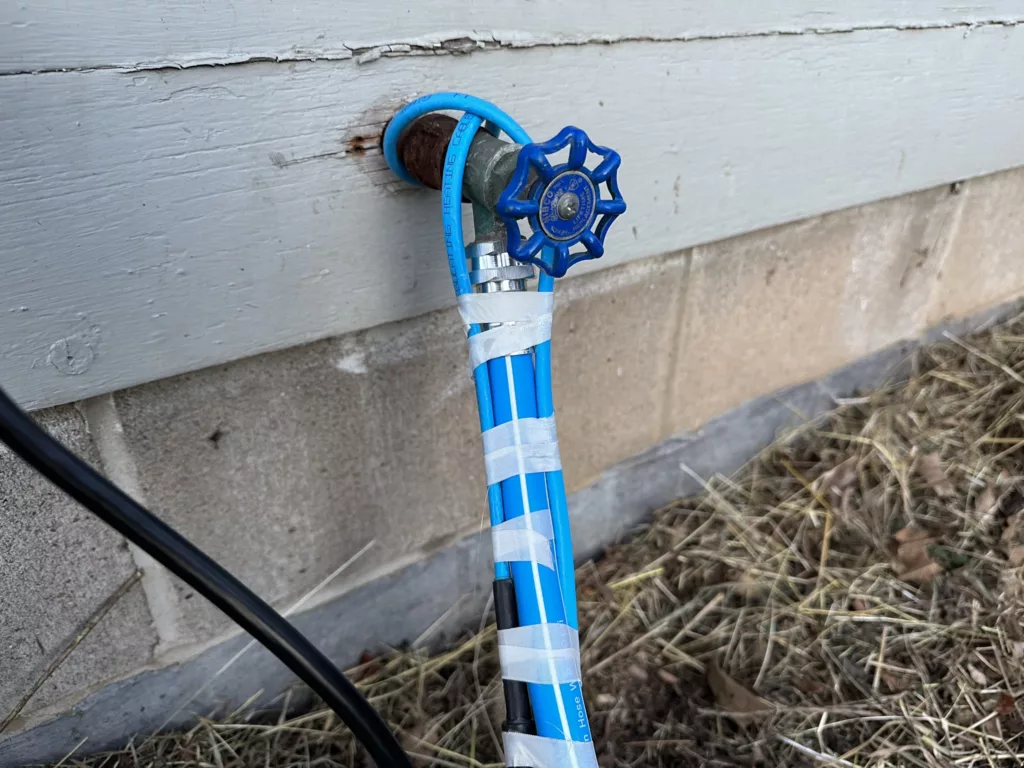
How do you prevent the faucet and RV inlet connection from freezing?
One of the drawbacks of a prebuilt heated hose is that it will only prevent the water in the hose from freezing and not the faucet or RV connection. However, with a DIY heated hose, you can adjust the cable length to keep extra heat cable on both ends, which you can wrap around the city water hookup, water pressure regulator, and inlet connection to the RV.
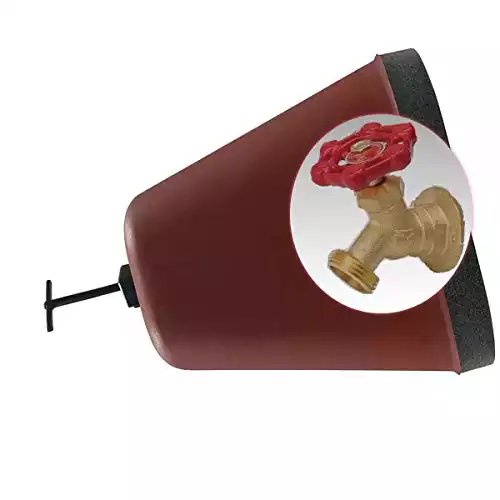
I also recommend insulating these components to maximize the heat cable’s efficiency. One technique that I recommend is to modify a faucet cover to cover both connection points. You can cut a hole in the cover to allow the hose to pass through. With the heat cable and cover, you shouldn’t have any issues with freezing water at these connection points.
Step-by-Step DIY Guide for Building a Heated RV Water Hose
Materials
- Heat Cable: Maxkosko 100′ heat cable (use whatever length you need)
- Drinking Water Safe Hose
- Pipe insulating tubing
- Heat resistance tape
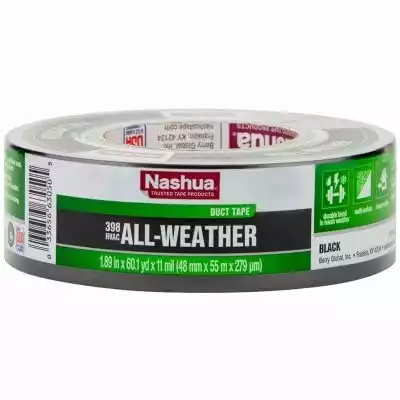
- All Weather Duck Tape
- Outdoor Faucet insulation caps
| Product Image | Product Name / Price | Primary Button |
|---|---|---|
|
|
||
|
|
|
|
|
t
|
|
|
|
|
||
|
|

Step 1: Test hose and heat cable
Before you begin assembling everything, it’s a good idea to ensure your hose and heat cable are defect-free. The easiest way to test the hose is to connect it to your faucet and RV. Then, test for leaks and ensure that all fittings aren’t leaking at the spigot and RV inlet. A small leak in the winter months can create a big ice problem.
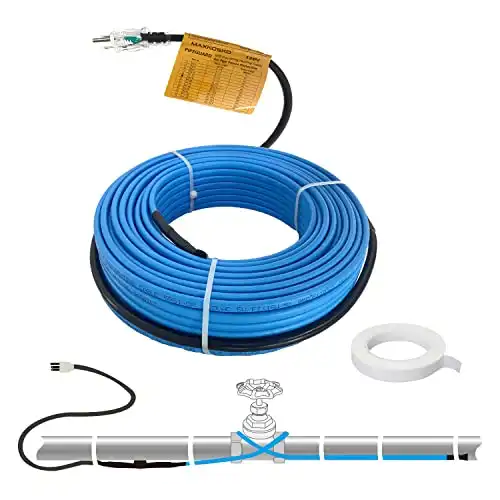
- Available in custom sizes (3 feet to 160 feet)
- Self Regulating
- Built-in thermostat
- Safe for use on hoses
To test the heat cable, you can plug it into an outlet and submerge the sensor in a cup of ice water. Then, the heat cable should begin to warm up. As it warms, check the entire cable length and ensure it’s heating evenly. The heat cable may take longer (a minute or two) to warm up the further you are away from the electrical connection.
Step 2: Dry fit heat cable to hose
The first thing you want to do is lay out the hose in a straight line. Next, place the heat cable next to the hose. If you plan to use some heat cable to wrap the faucet and RV water inlet connection, be sure to leave enough of the cable sticking out past the hose.
Next, decide if you plan to wrap the cable around the entire hose or connect a straight run to the hose. My suggestion is the wrap it, even if the spacing for the wraps is really wide. The wraps will provide more surface contact between the heat cable and the hose. If you use it in a very cold climate, where temperatures are regularly below freezing, you may want to include more wraps.
If you’re wrapping the hose, remember that you’ll be using more heat cable than you would if it was a straight run. Ensure the extra heat cable you need extends beyond the far end of the hose. For example, in my 75-foot setup, I left 3 feet of extra heat cable at the faucet side. The other 22 ft. of cable was left on the RV side. I used most of this up in the wraps. I had a little extra heat cable at the end, so I just created tighter wraps for the last 20 feet until I had the correct amount at the end of the hose.
Optional Step: Wrap in aluminum foil.
Some RV owners like adding an aluminum foil layer between the hose and the heat cable. The theory is that this will help distribute the heat evenly around the hose. However, this isn’t really necessary as the heat cable, when coiled around the hose and protected with insulation, will be more than adequate to keep the water in the hose above freezing. However, if you add aluminum foil, it should be placed between the hose and the heat cable. You can secure it with aluminum tape if you want. I didn’t use aluminum foil in my build.
Step 3: Secure the heat cable to the hose
If you’re running the heat cable parallel to the hose (NOT wrapping), you can secure the cable to the hose. I recommend taping it at least every 6 inches. This is the quickest option, but if you use it in very cold temperatures, I suggest wrapping it.
Wrapping, while not difficult, it is more time-consuming. If you’re building a shorter-length hose, it won’t be too difficult. For my 75′ hose (with 100 feet of heat cable), it took some effort to keep the cable neatly coiled and untangled as I worked to wrap it around the hose. If you have the option, it will be much easier to do this when the weather is warmer to provide more flexibility to the cable. I built my hose in the winter, and the cable’s stiffness added to the difficulty. However, and easy way to make your heat cable more flexible is to plug it in and allowed it to warm up (if the temperature is below freezing).
Continue this process for the entire length of the hose, ensuring that you don’t use up all of the heat cable and leave some exposed on the RV side. If you don’t have enough heat cable, remove some loops to get the needed length. You can add tighter loops toward the end if you have too much cable. This part of the process is a little bit of trial and error, but it should make more sense when you’re doing it.
Once the heat cable is wrapped with the desired amount extending past the ends of the hose, you can begin to secure it with heat-resistant tape (you can also use electrical tape). Ideally, placing a piece of tape every 1-2 feet would be best to keep the heat cable firmly attached to the hose. You want to avoid a situation where the heat cable is not contacting the hose; otherwise, you will lose some effectiveness.
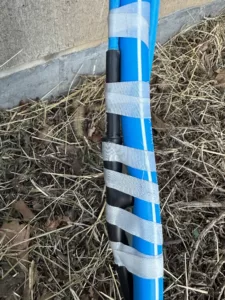
Step 4: Thermostat Positioning and spigot connection
There will be a built-in thermostat on the end of the heat cable with the power cord. This sensor tells the heat tap to turn on when the temperature drops. You want to ensure that it’s placed against the hose and sealed under the insulation like the rest of the heat cable. You also want to avoid bunching it up with excess heat cable. You can also place the thermostat on the spigot connection as well. If you don’t plan to insulate the spigot area, I suggest placing it there so the heat cable turns on when the most vulnerable part of the system gets cold. However, Insulating the spigot and RV water connection is a good idea to avoid any cold spots that could freeze before the heat cable kicks on.
The thermostat will turn the cable on when the temperature drops below 37 degrees and then kick off when the hose gets above 50 degrees (with the Maxkosko cable). It would constantly run if the thermostat were left exposed to the elements. You want to thermostat to read as close to possible what the actual temperature is of the water in the hose, which is what you want to prevent from freezing.
Since the thermostat is near the end of the cable, where the black plug wire and heat cable meets, and assuming you want to wrap the cable around the spigot area, it’s best to make this connection now. You may need to wrap the excess cable around the spigot and then loop back to the hose to place the heat cable. Since the Maxkosko cable can be overlapped, it’s okay if the lines cross. Next, it’s time to insulate the hose.
Step 5: Insulate the hose/cable
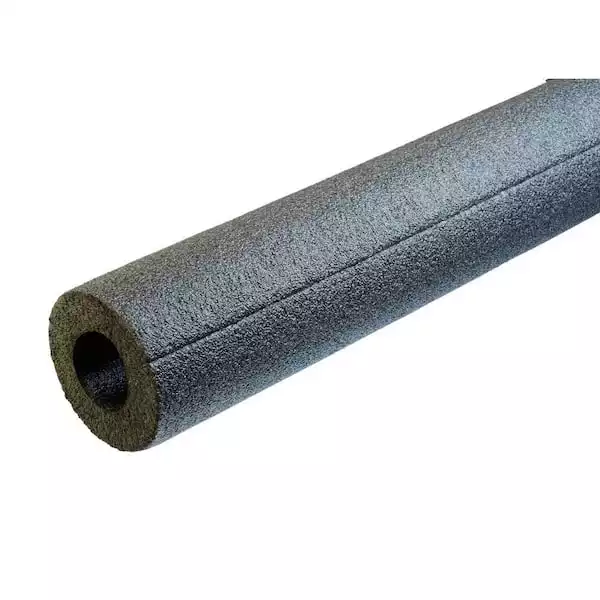
The easiest way to insulate your hose and heating cable setup is to use foam pipe insulation (those look like pool noodles). These are the same tubes you use in your home and can be found at most hardware stores like Home Depot or Lowes. I used an insulation tube with a one-inch inner diameter for a 5/8 diameter fresh water hose wrapped with the heat cable. While you can use a ¾ inch insulation tube, the 1″ option will provide a snug fit and fully seal around the hose.
Securing the insulation tube is very easy. Just insert the hose into the split opening of the tube. I installed all the insulation tubes first, but it would have been quicker to install them one at a time while taping them, as described below.
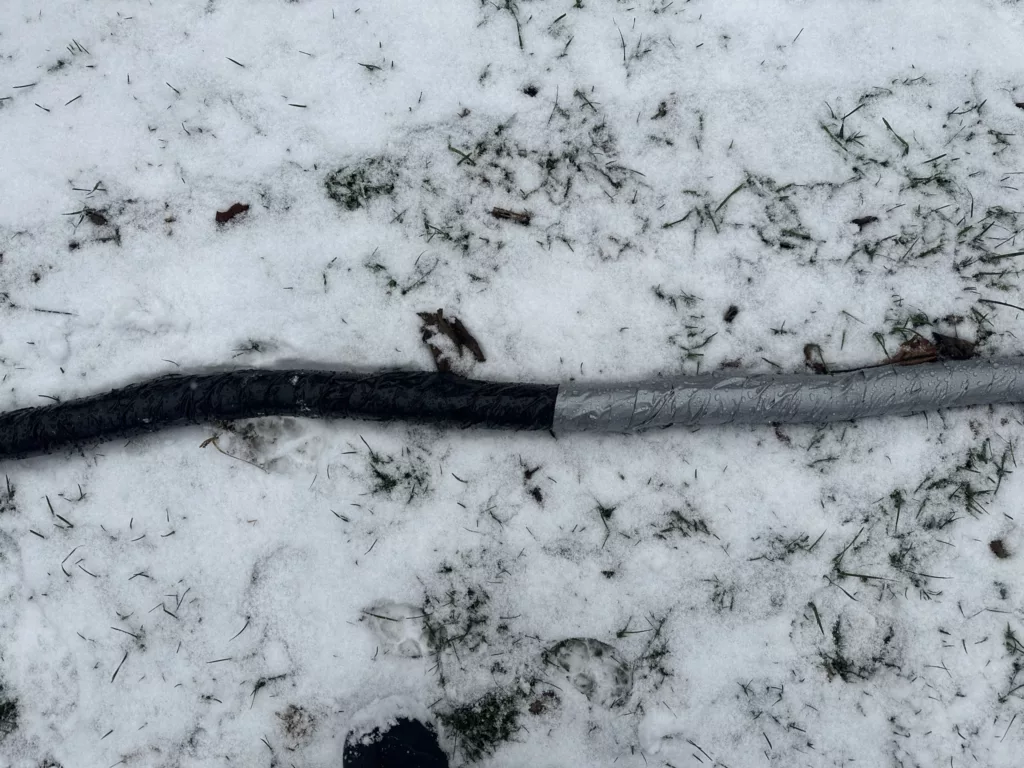
Step 6: Tape the insulation
At a minimum, you’ll need to tape the seams where the foam tube comes together, however, for added durability. I wrapped the entire length of the hose with duct tape. While it will make it more difficult to disassemble everything in the future, it will ensure you have a strong and durable DIY heated water hose that will stand up to movement and bending over the years. It also ensures the insulation tube is fully sealed around the hose, preventing any gaps or cold spots. This will also give you some additional peace of mind in low temperatures. The best method for taping the hose would involve two people, but it can be done by one person if needed.

Step 7: Connect a hose to the spigot and RV
Once you have the heated hose constructed, the next step is to connect it to your RV (and outdoor spigot if you haven’t already). Remember that the hose will be heavier than a standard hose, so you may need to support it at the spigot or RV. You may also want to add a 90-degree elbow at the RV to keep the water connection vertically, so it doesn’t strain the connection excessively. Finally, test for leaks and ensure the connections are tight. A small leak, which you may not notice in the summer, can become a big headache in the winter.
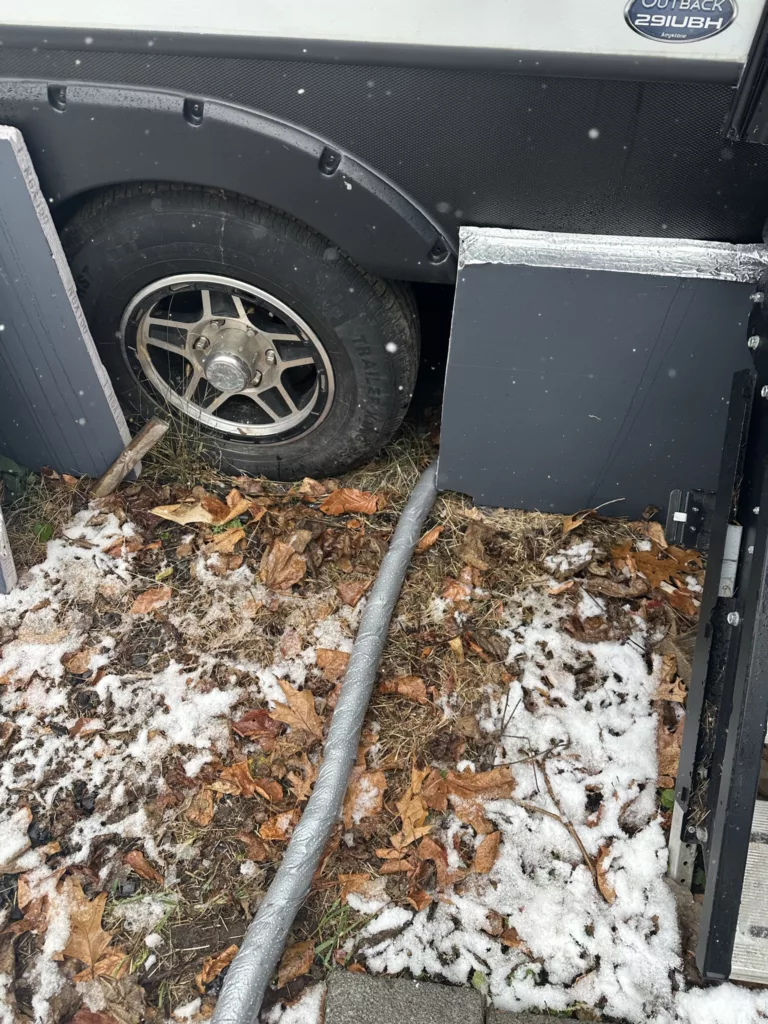
Step 8: Wrap Spigot and RV water inlet
With the excess heat cable you left hanging out of the end of the hose, you will want to wrap this around the connections to the spigot and RV inlet. The Maxkosko heat cable, recommended in this review, is okay to overlap, so don’t worry if you have a little extra cable. You can secure the heat cable with zip ties or heat resistance tape. I also added some pieces of foam insulation and taped them in place. It doesn’t need to look pretty, so long as it provides adequate protection from the elements.
I also installed an outdoor spigot insulated cap for the spigot and RV water connection. These are designed to prevent outdoor spigots from freezing. However, they’re not designed to be hooked up with a hose connected.
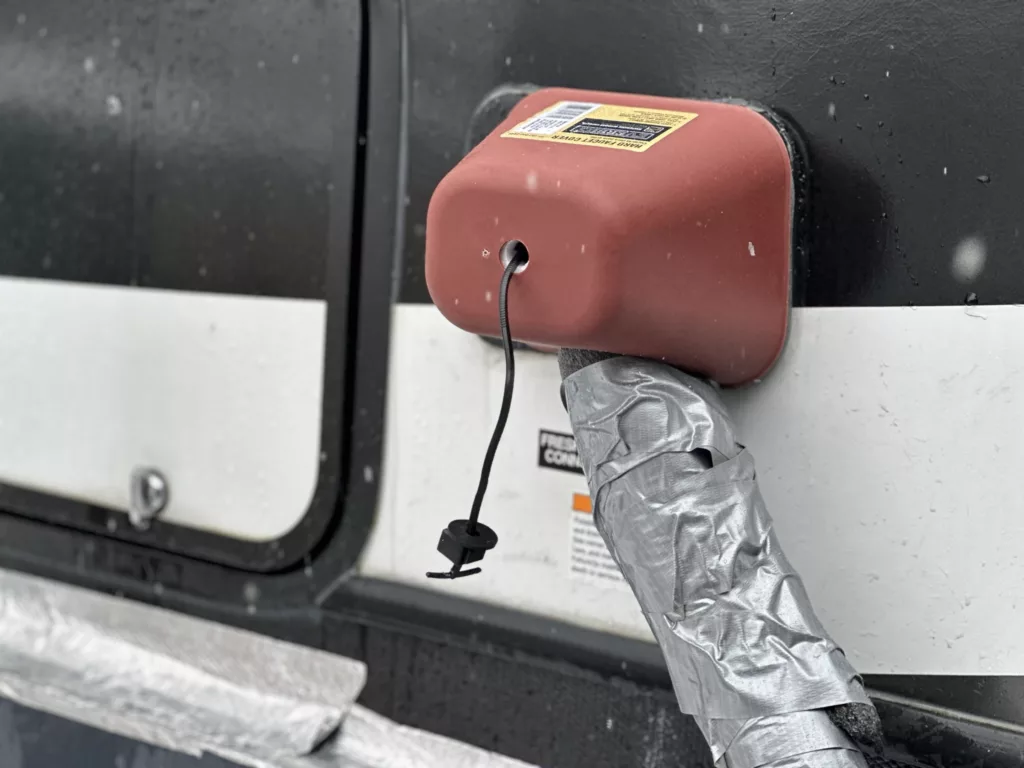
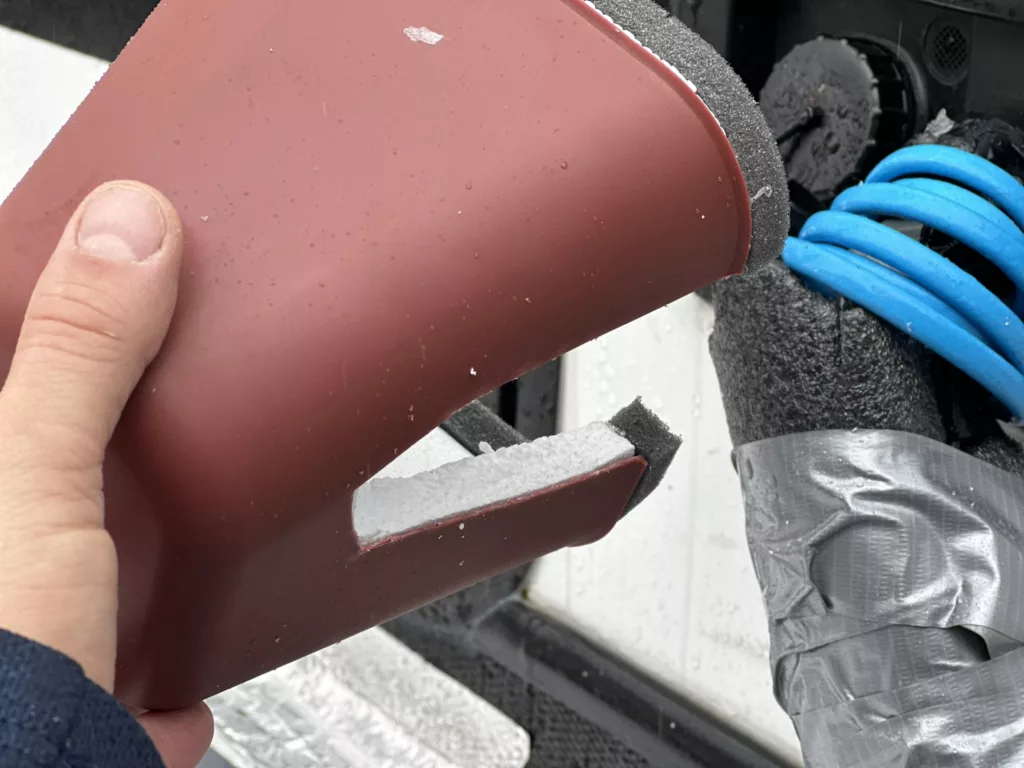
To accomplish this, you’ll want to cut a large enough opening on the bottom of the cap to fit the insulated hose. The hose can then be connected to the spigot inside the insulated cap. In my setup, adding a 90-degree elbow to both connection points (spigot and RV) was the easiest to allow the cap to fit better and reduce strain on the connection.

Step 9: Plug in the heat cable
While it’s recommended not to use an extension cord with heat cables, it’s nearly impossible to have an electrical outlet right where you need it. So, when using an extension cord, purchase a heavy-duty outdoor one. I recommend using a 12 AWG cord, rated for outdoor use. The wire in the house will be similar to the gauge you likely have for residential wiring. Use the smallest length possible and ensure it’s plugged into a GFCI outlet since it will be exposed to the elements.
Step 10: Test Everything
After all of the connections are made, turn on the water and, once again, check for leaks. Since the thermostat is covered, it may not be easy to test the heat cable again. First, check to ensure the power source outlet is working and the heat cable is receiving power. You’re all done.
Common DIY Questions
How long did it take me to build the heated RV water Hose?
In total, it took me about 1.5 hours to complete the project. This was largely due to the length of my project (75 ft). A smaller hose around 25-30 feet could be completed in under an hour.
How well does the DIY heated RV water hose work?
While this setup is a little more time-consuming than simply purchasing an off-the-shelf hose, it works exceptionally well. I have had it running in temperatures in single digits (Fahrenheit) without any issues. I also found that the beefy construction with the pipe insulation and duct tape does most of the work when the temperature is below freezing. In addition, the heat cable will rarely need to turn on at this temperature.
When the temperature is colder, the self-regulating heat source cable will turn on periodically and adjust its temperature to keep the water flowing. It won’t constantly run since it doesn’t need to, which greatly reduces your electricity use.
Periodic maintenance
While the DIY hose is relatively maintenance-free, it’s important to check your system periodically to ensure you don’t have any leaks (ice buildup) and that the electricity is still working. Also, double-check the GFCI breaker (power supply) to ensure it didn’t trip. I recommend doing this once a week or before a prolonged period of freezing temperatures.
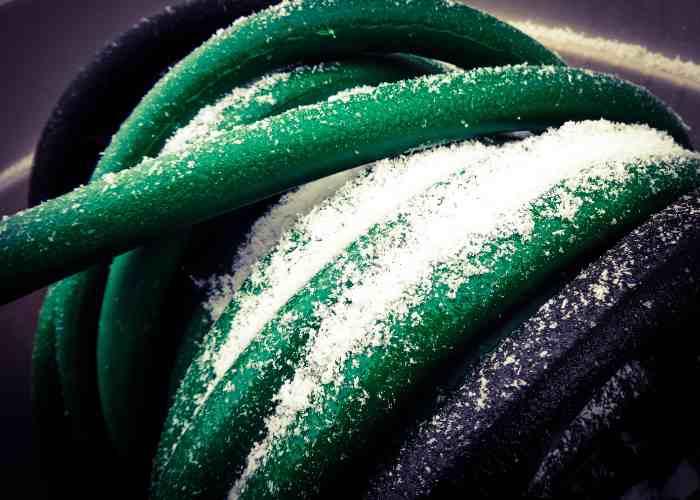
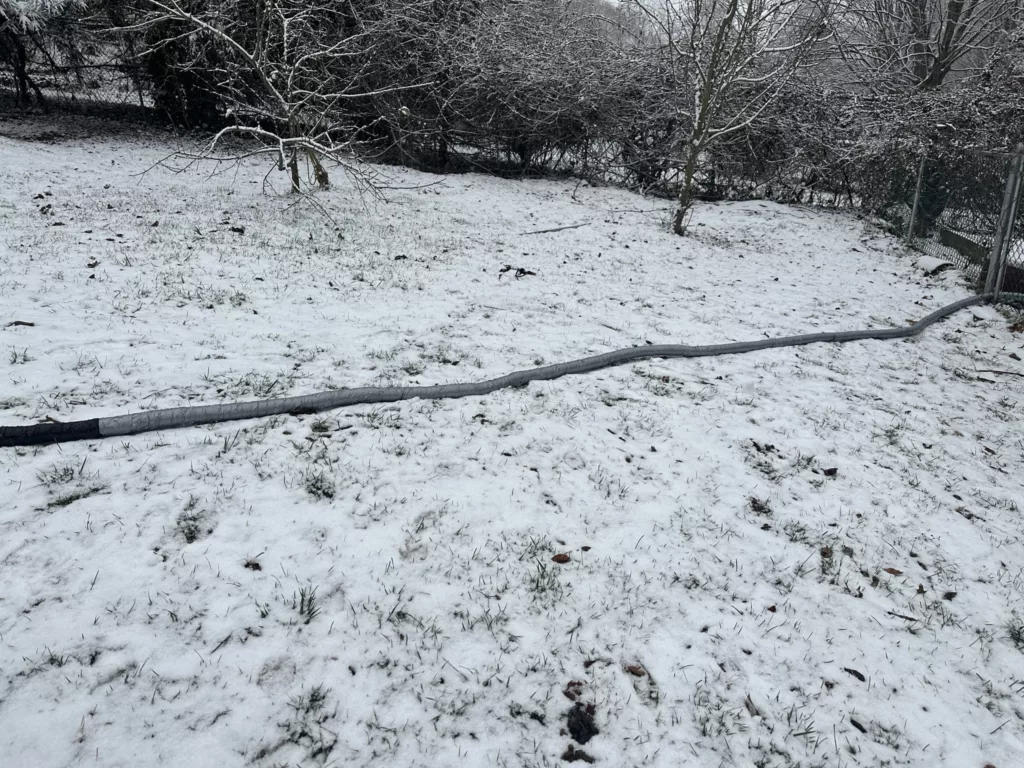
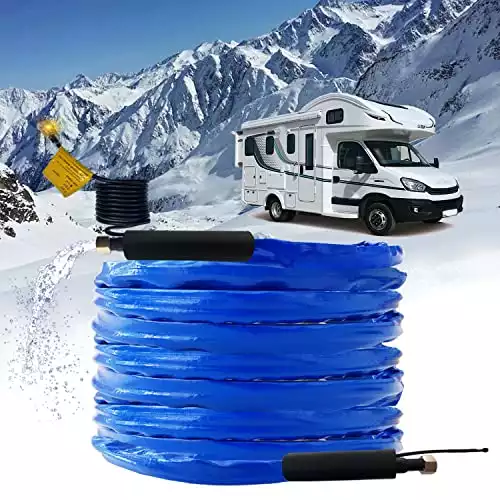
Is it okay if the hose is covered in snow?
Yes, the DIY heated hose is perfectly fine to be used under snow. This helps with insulation and can make your hose more efficient.
Is it better to purchase a prebuilt hose?
While a DIY hose can save you money and allow you to customize your hose setup for your particular needs, a prebuilt hose is equally as effective. A prebuilt hose’s benefits are that it’s less bulky and easy to pack up when you don’t need it.
If the DIY option isn’t for you, Maxkosko makes some prebuilt hoses. While I haven’t used one, I would expect the heating element to work just as well as the heat cable used in my build. Check out some of these options below.
|
12 Feet
|
25 Feet
|
50 Feet
|
|
N/A
|
N/A
|
N/A
|
Why Maxkosko?
I originally decided to utilize a Maxkosko heat cable for my build since they had excellent reviews and an affordable price. The heat cable was packaged very well, had great documentation, and worked perfectly out of the box.
Maxkosko also has extremely responsive customer service, which is great if you have a problem or a question. If something is wrong with your product, they’ll respond quickly and help you find a solution. So whether you purchase a heat cable or a prebuilt hose, you’ll be happy that you chose to go with Maxkosko.
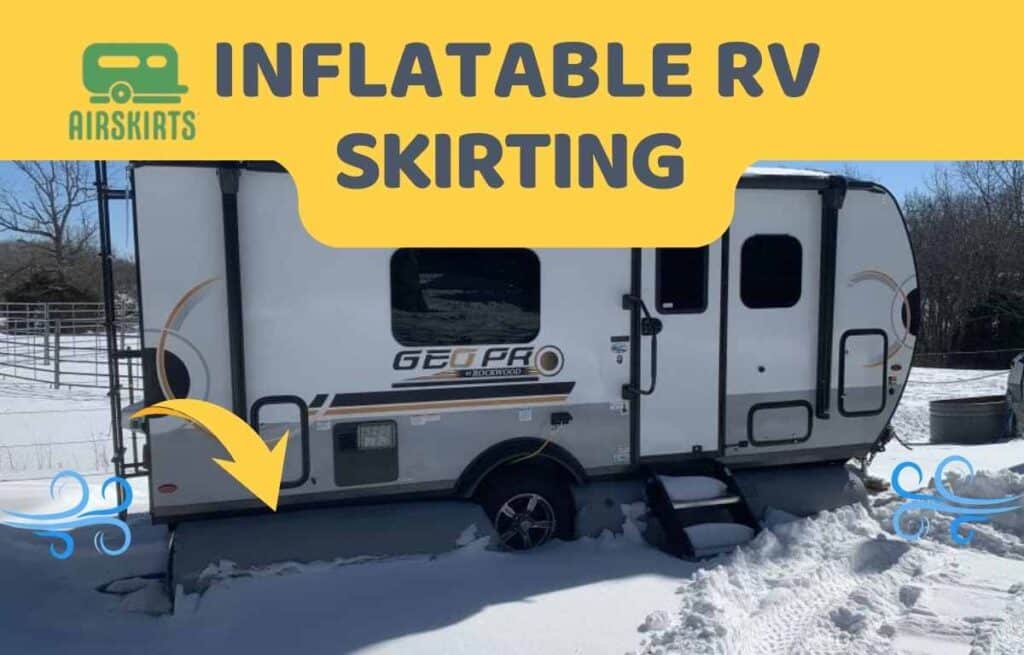
Insulate other parts of your RV water system
While a heated water hose is your first line of defense when using water in the winter, you should know that it won’t protect your RV water lines. If you have a heated underbelly, this may not be a concern. However, if you don’t, you may want to add heat cables to the RV water pipes, tank heaters to the black and grey tanks, a heat lamp, and/or skirt the bottom of your RV. While a frozen water hose is troublesome, frozen RV pipes can cause permanent damage to the RV and be costly to repair.
Conclusion
If you’re camping in the winter and need water, consider building a custom DIY heated RV water hose. It’s a simple project that can save you money and keep your water flowing all winter long. With just a handful of materials, you can complete this project yourself. Camping in the winter can be challenging, but it can also be a lot of fun. Check out these other winter camping tips for staying warm and happy.